Lissa Anglin • Part of Me Blog

Art, décor, family and photography- it's all part of me!

craft tutorial

custom marble sticker DIY

CRAFTS, DIYlissa-anglinComment
title.jpg

Anyone else a sucker for good packaging? I know I have purchased things solely because of the pretty package- and when it comes to the products I make and sell, I like to package them special, too.

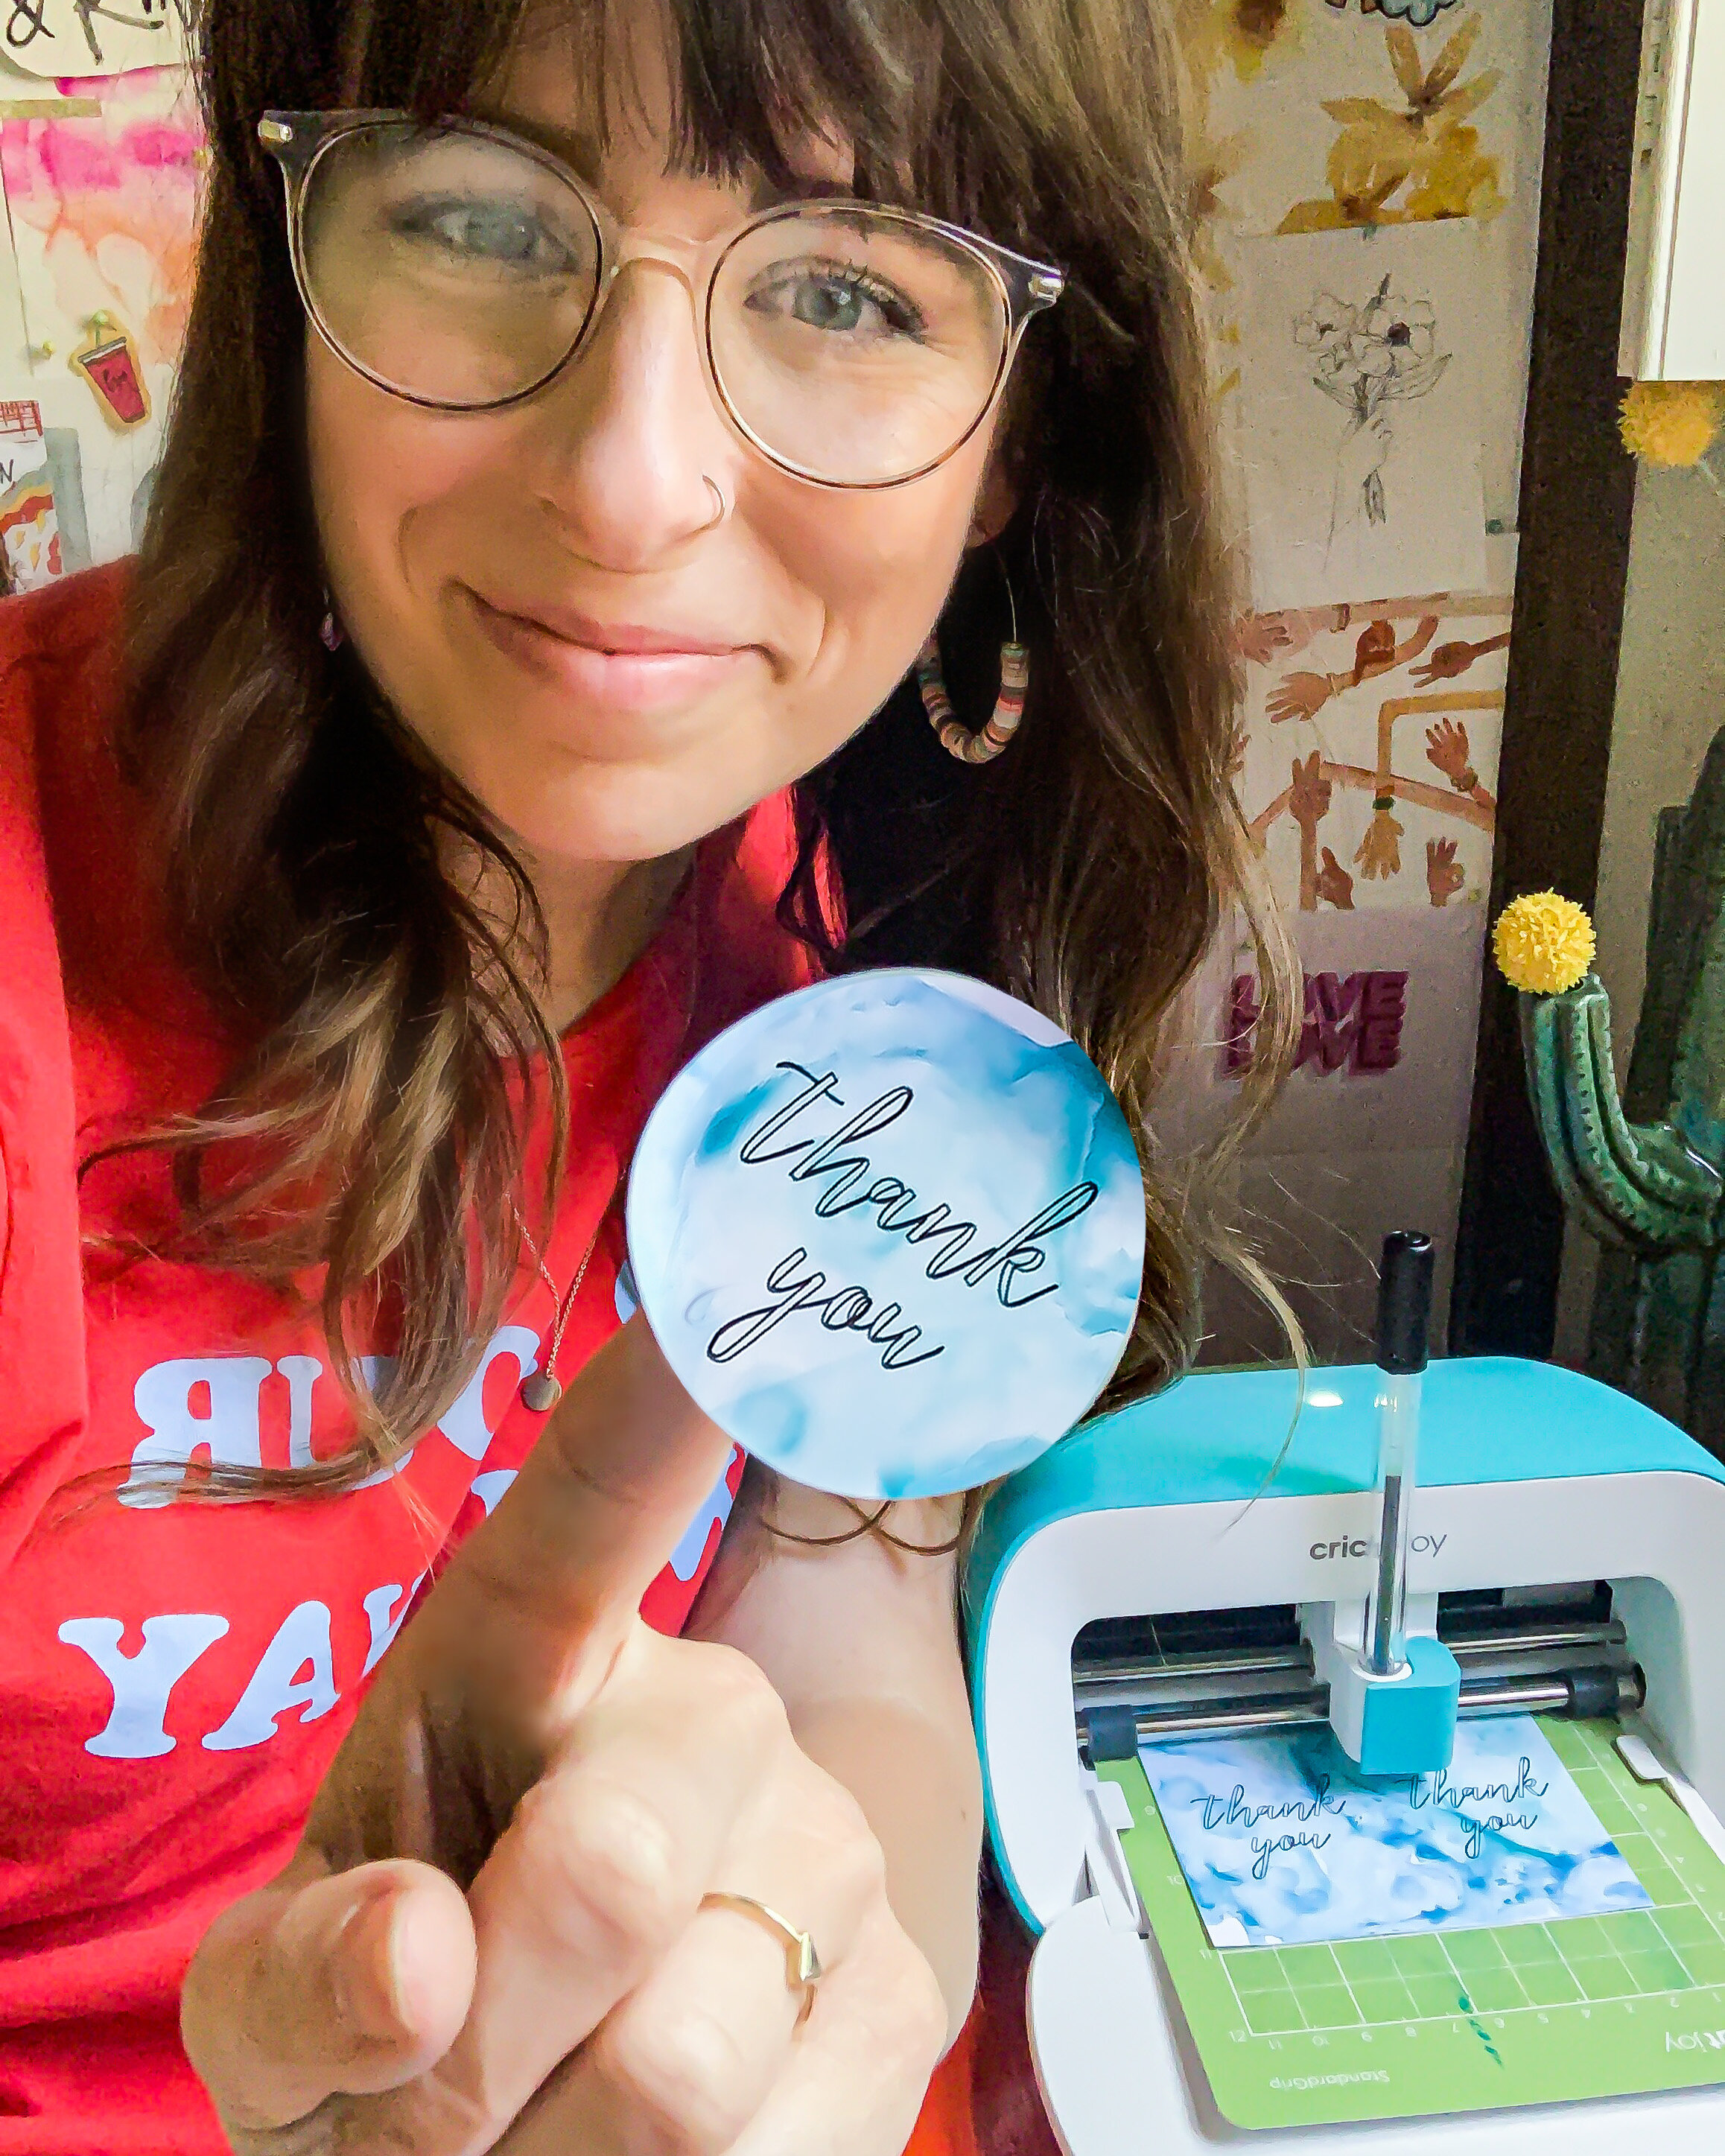
I’m teaming up with a few other crafting + lifestyle bloggers to share a quick and easy little DIY I use for my business today- custom marble stickers! I use these stickers to package my creations and add a little extra love. They’re also perfect for packaging any type of gifts and I’ve made similar ones for baby and wedding showers, teacher gifts, etc.

Materials Needed:

IMG_1390.JPG
  • Cricut Cutting Machine- I am using my Cricut Joy, which is perfect for a small batch of stickers like this

  • Cricut Extra Fine Point Pen

  • Sticker Paper- here is the kind I love and use. I use the waterproof matte inkjet in the 8.5x11 size.

  • Watercolors & brush

  • Isopropyl Alcohol

  • Eyedropper (you can also use a paintbrush if you don’t have one)

Click HERE if you want to use my exact design file in the Cricut Design space!


That’s it! This project is a relaxing one- I love getting to do the actual marble paint on the stickers- it is a pretty foolproof method and using the alcohol to create the marble effect is a lot of fun. Then, I use the draw and cut features on my Cricut Joy to give them a professional look.

Check out my video below with the step-by-step guide.

So go out and make yourself some stickers! And please tag me @lissaanglin on any social sites so I can see your beautiful work!

Head over to these blogs to see what they have created and how they use Cricut for their blogs!

Kay @ Kay’s Daily Insight:

kaysdailyinsight.com

Instagram.com/kaysdailyinsight

Bria Snyder:

briasnyder.com

Instagram.com/Bria.snyder

Mama Llama Llama:

mamallamallama.com

Instagram.com/mamallama.llama

Emily @ Emily Plus Twins:

emilyplustwins.wordpress.com

www.instagram.com/emilyplustwins/


paper flower crown tutorial with cricut!

LIFESTYLE, CRAFTSlissa-anglin2 Comments
FlowerCrown-6424Thumbnail.jpg

The blooms in our flower bed are finally starting to appear after what feels like a very long winter- which means spring is here! The beautiful weather we’ve been experiencing has been such a beam of hope for me, as we’ve been quarantined in our home now for almost a month due to COVID-19. While I’m thankful we are healthy and home, our hands have needed something to keep us from going stir crazy!

FlowerCrown-6299-Edit.jpg

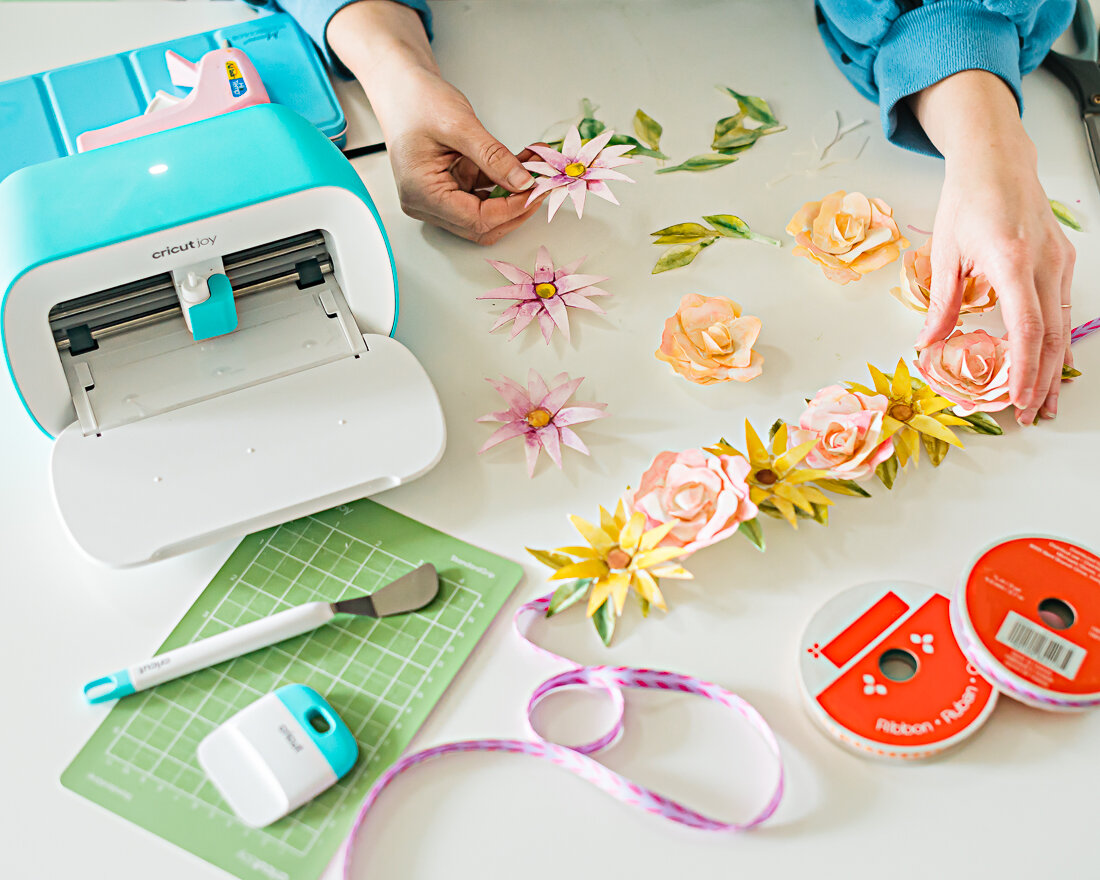
So when the new Cricut Joy arrived in the mail last week, I couldn’t wait to start making with it. I was able to check out this machine at Alt Summit last month, and you guys- it is the perfect little cutting tool!

Top Two reasons I love it:

  1. The smaller size of it makes it perfect to keep permanently on your desk. It connects to your computer via Bluetooth, so it also doesn’t use up another USB port nor does it need to be in a super close range to your computer- just close enough for Bluetooth to connect. :) It’s just cute. I love the design of it- the blue is cheerful and modern.

  2. It cuts and writes just like a larger Cricut, except it’s perfect for small jobs, like labels and cards. I know I’ve thought twice about pulling out my machine just to make a couple small labels. With the Joy, it’s already on my desktop and it’s quick and accessible. LOVE THAT convenience.

    You can check out the Cricut Joy here- they’ve put together some bundles that are perfect for label and card making!

FlowerCrown-6364-Edit.jpg

Now let’s make some flower crowns!

These are perfect for your littles, or even yourself! Of course, the flowers used in this tutorial can be made into anything you can dream up.

FlowerCrown-6311-Edit.jpg

Paper Flower Crowns

The materials needed for this project are pretty simple, and if you have a Cricut Cutting machine, you’ll likely have everything else you need in your craft closet as well.

The watercolor and watercolor paper is totally optional in this tutorial- you can easily use some of the pretty patterned paper the Cricut makes and avoid painting. I love watercolor, though- and the method I use here to paint is beginner-friendly, so don’t be intimidated!

Materials:

IMG_3095.jpg

Links to my flower files in the Cricut Design Space:

3D Daisy and Leaves

3D Peony

Check out my tutorial below!

I’d love to see your flower crowns, or any other projects you create with my flower files! Be sure to tag me @lissaanglin on any social platform so I can ooh and aah over your creations.