
If you’ve been following along on Instagram, you know we are moving houses! We have loved our current home for 6 years, and a lot has changed since we moved in- like adding 2 more people to our family and somehow accumulating a LOT more stuff.
We aren’t leaving Lubbock, just moving neighborhoods. Many weeks ago, our Realtor and friend, Jim Archer (who we highly recommend!) knew our desire to find an older home to fix up, and called us about a home he’d found in one of our favorite Lubbock neighborhoods. So, we went to see it, and hated it. But then- plot twist- we ended up buying it! I can’t wait to share more about that, but this post is dedicated to STAGING.
Once we knew we were buying the new house for sure, the scramble to stage our current home began.
Here’s what we did to prep our home to be put on the market:
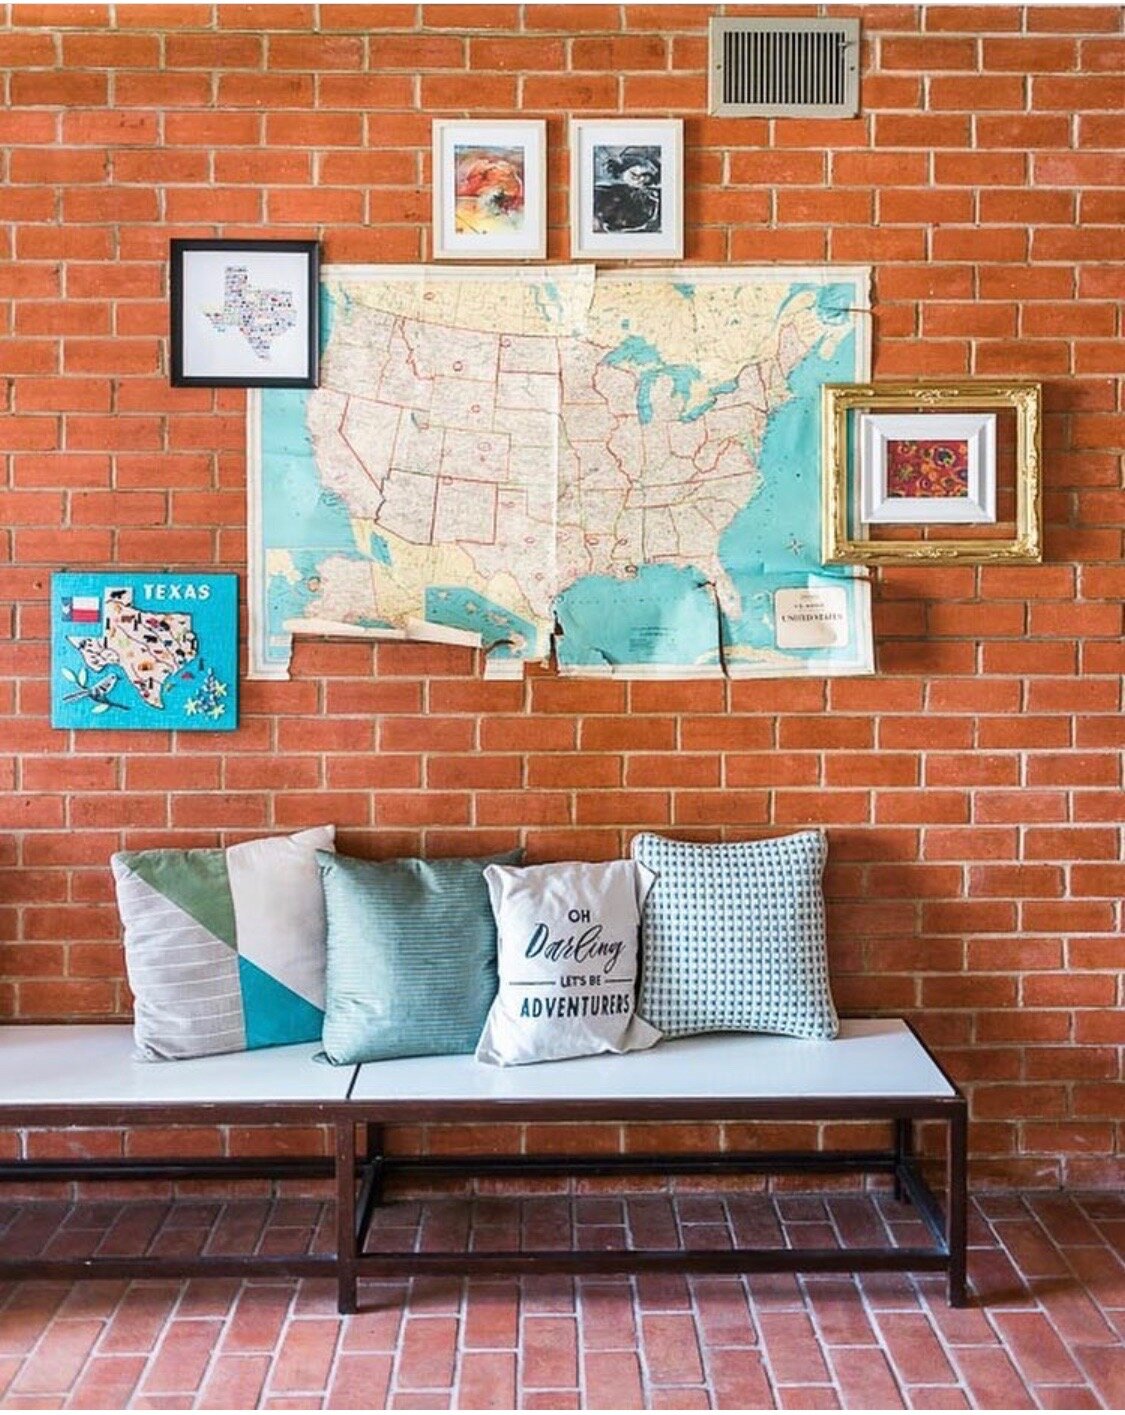
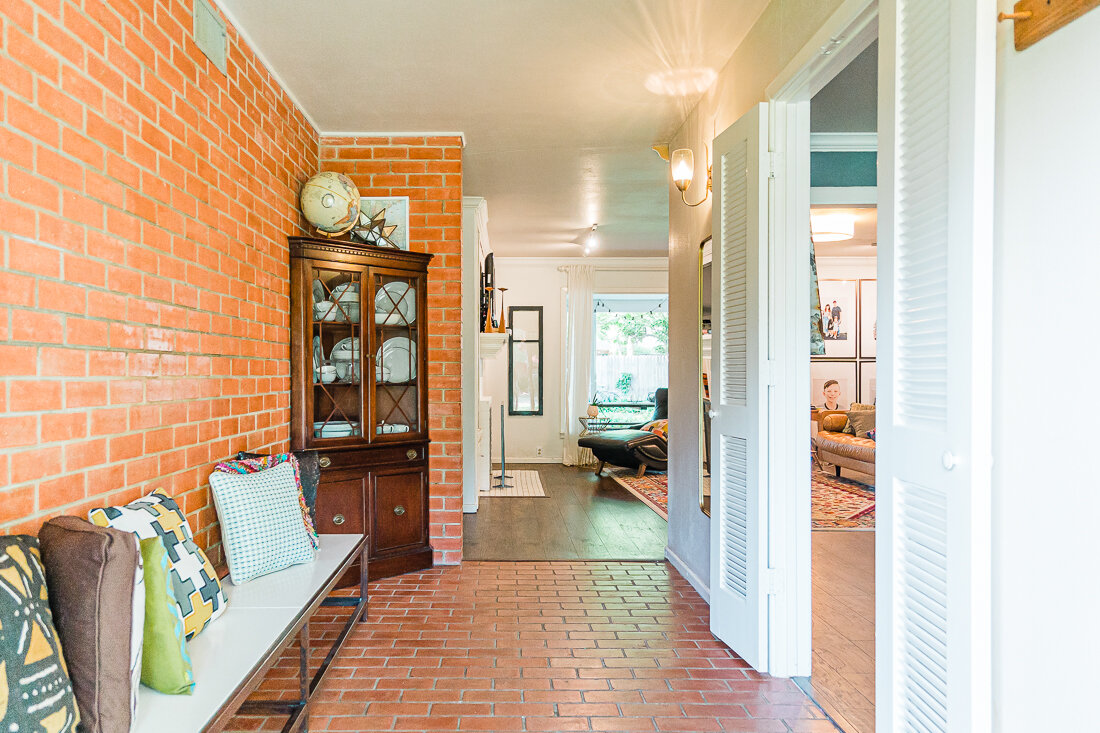
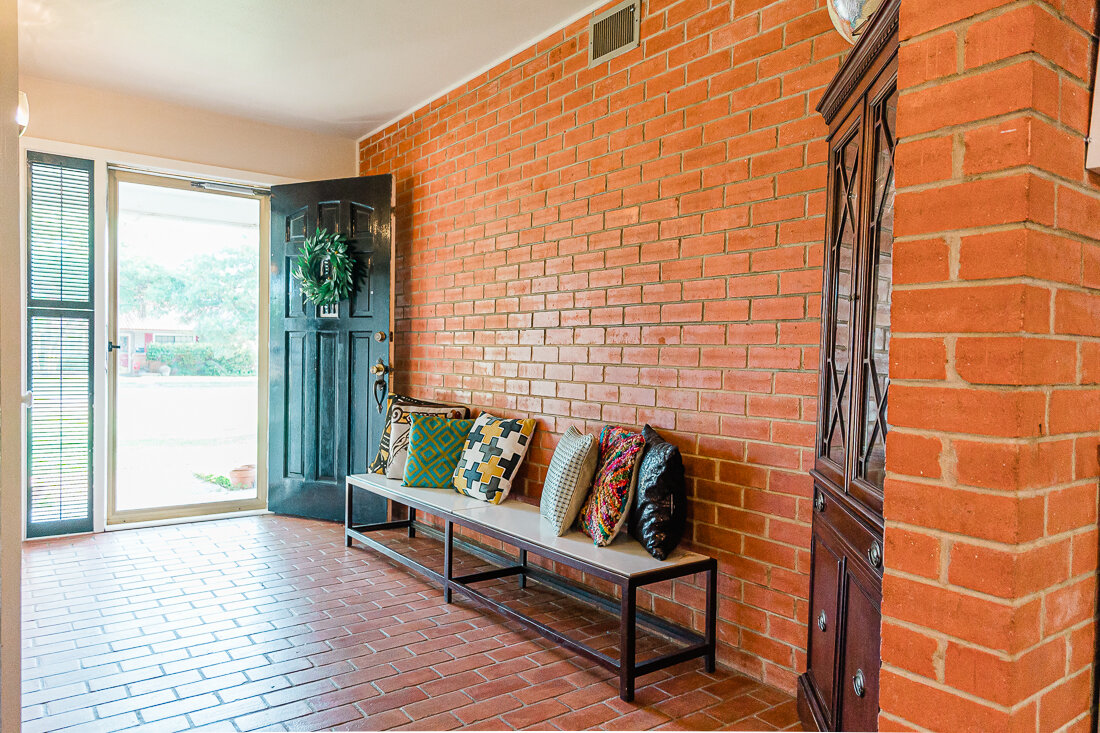
We ended up taking down the map and frames here so that the brick was the focus of our entryway.
1. We MAJORLY de-cluttered. I went through every junk drawer, closet, craft room, etc. Marie Kondo style. I kept a trash bag and a box for garage sale items nearby, and tried to conquer one or two spaces a day. Garage sale items went into the garage, and trash went to the bin.
Much of what we removed were kids’ toys. I knew we’d never be able to keep our house clean with lots of toys available to our kids (haha), so we put pretty much everything (including the girls’ large dollhouse) in a storage unit.
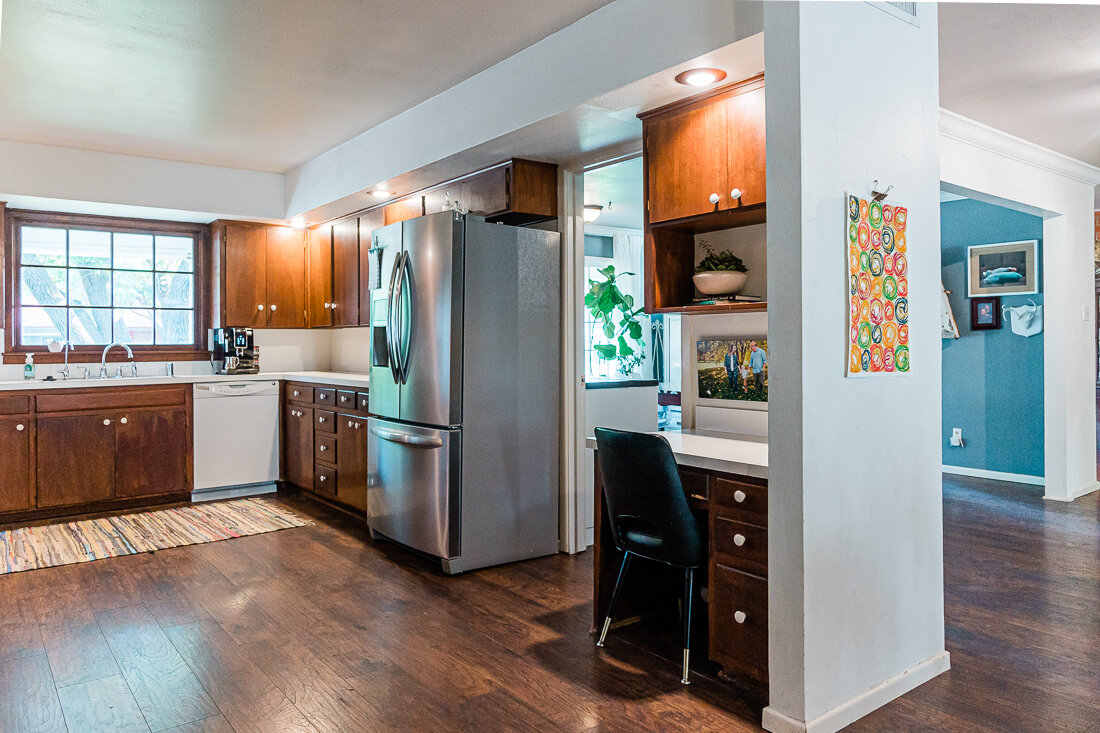
We also removed quite a few pieces of furniture in order to open up our main living area and make it more walkable for people viewing it during a showing. Furniture also went into storage.
Another area we almost forgot about was the backyard. All the kid stuff (except the trampoline) was removed. I swear, we found about 47 Barbie shoes hidden in the plants. 😂
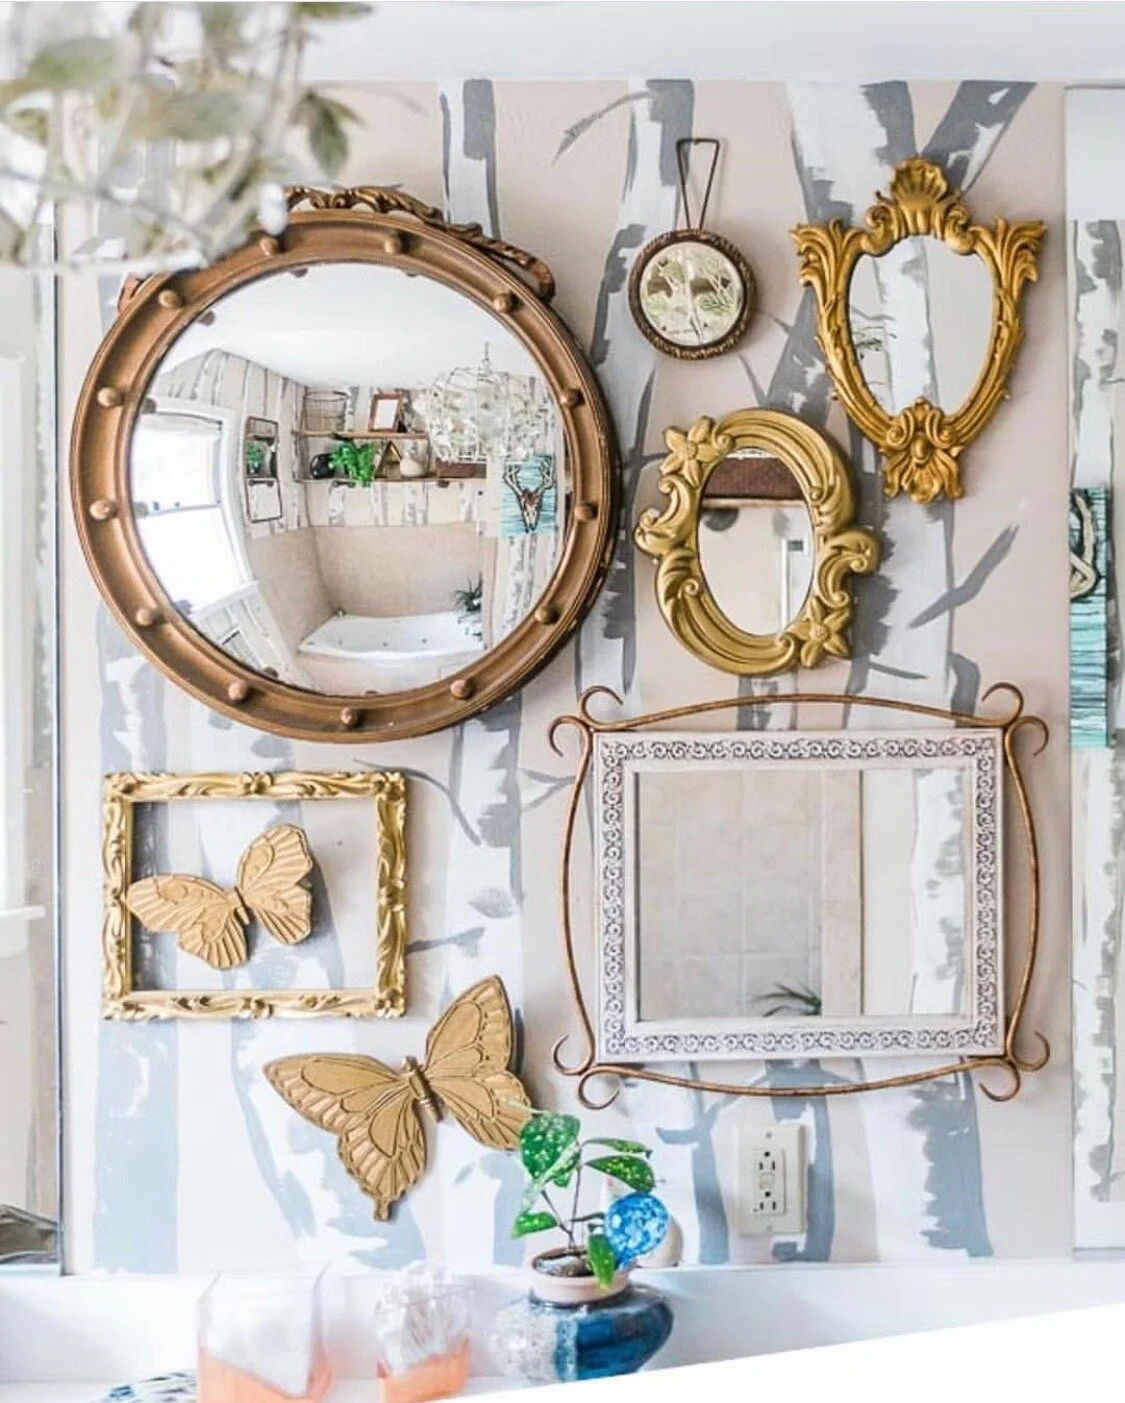
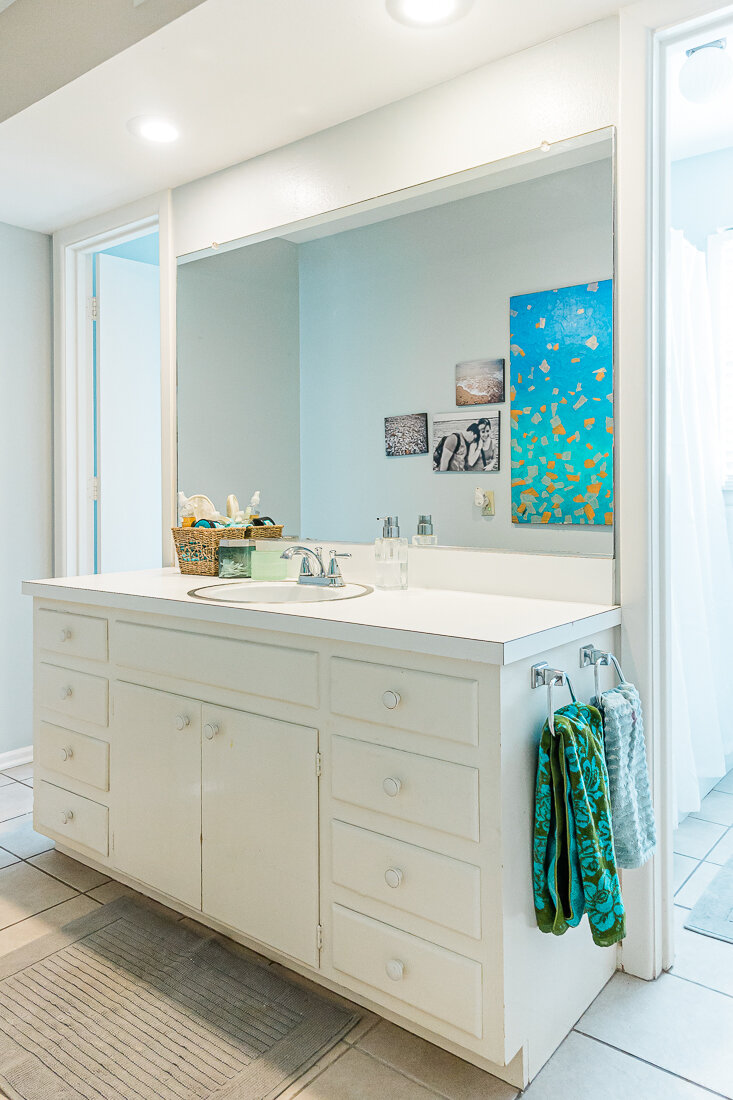
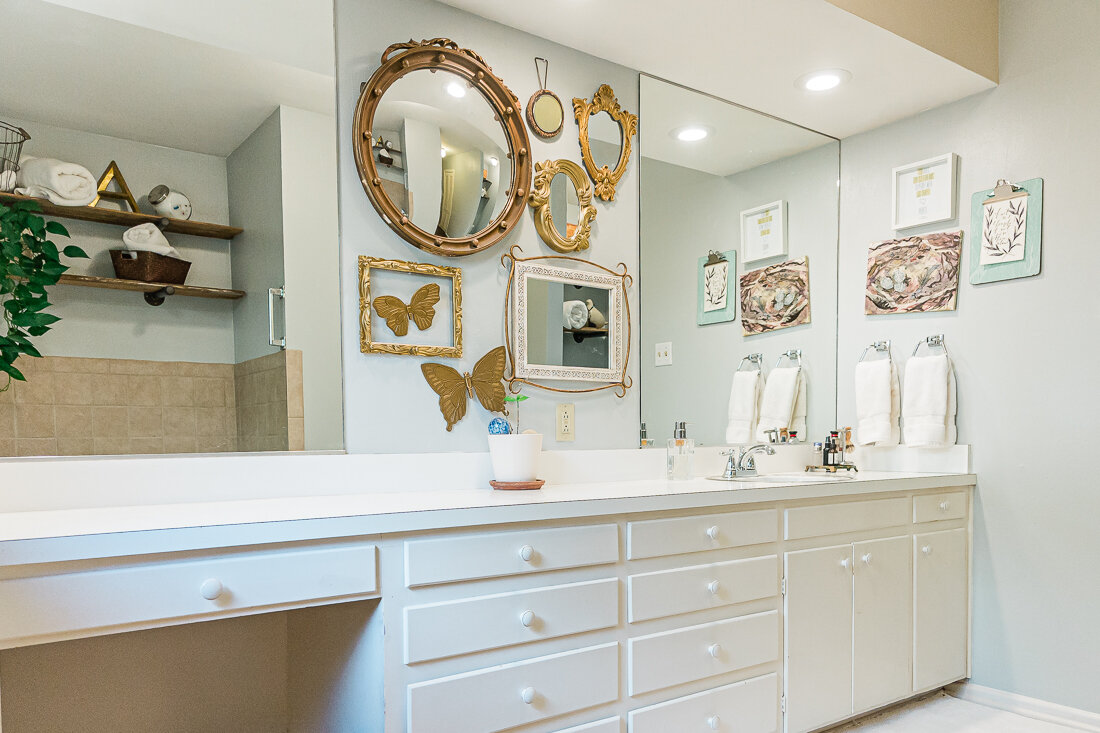
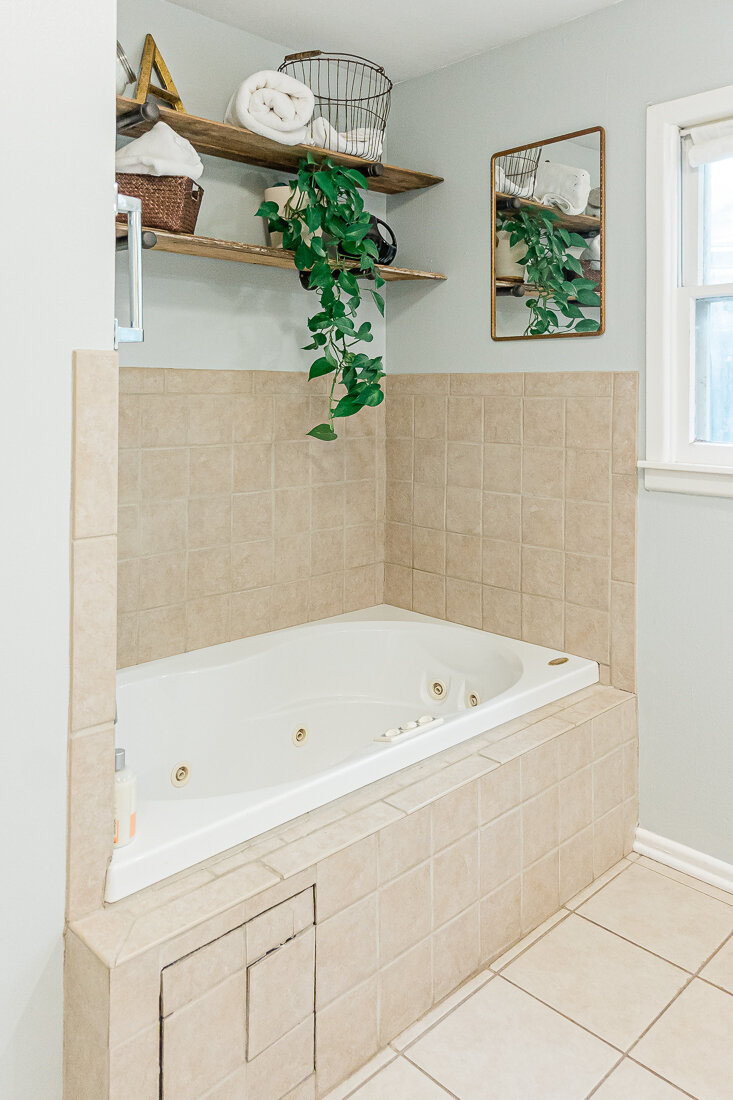
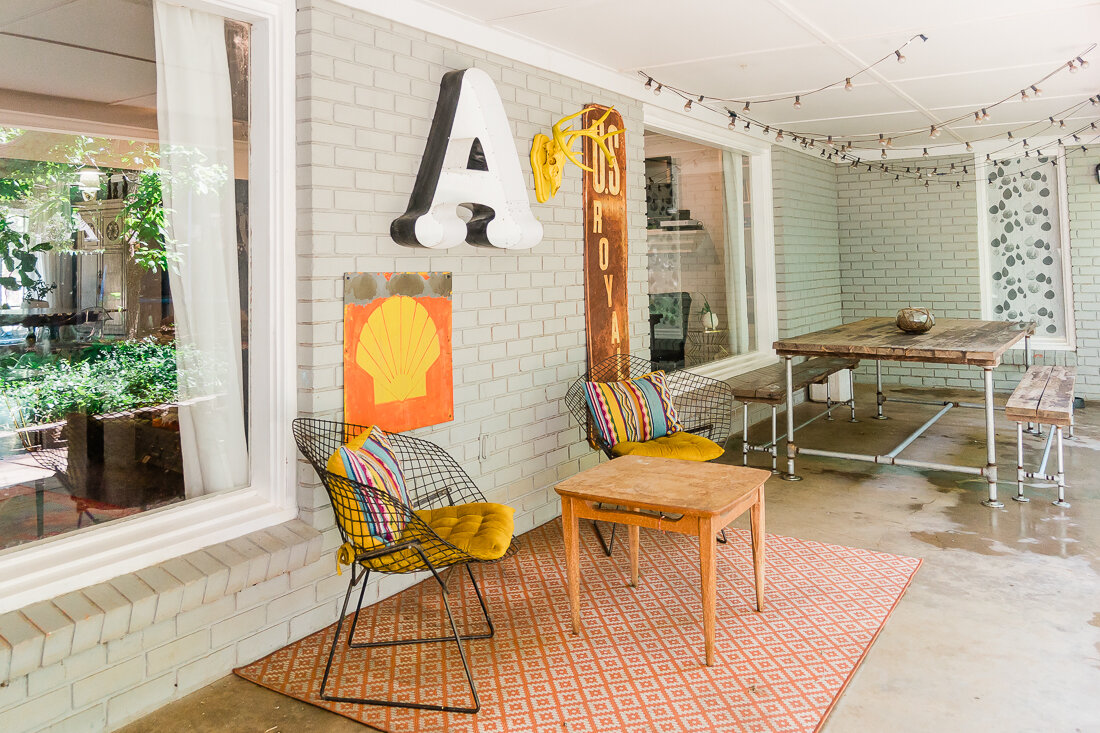
You can see the trees in our master bathroom in this old photo. I pondered removing the mirrors as well, but ended up leaving them for staging.
2. We took down/painted over super-specific design choices. This was a little heartbreaking to me, as I had spent many hours designing Knox’s constellation bedroom. His room had a large, dark mural on one wall that just had to go- it was much too specific of a design to appeal to a large group of buyers, AND I didn’t want to deter anyone that wasn’t willing to take it down themselves. Thankfully, my mom came over and lovingly helped me scrape all day to get the wallpaper off- not a fun job for sure.
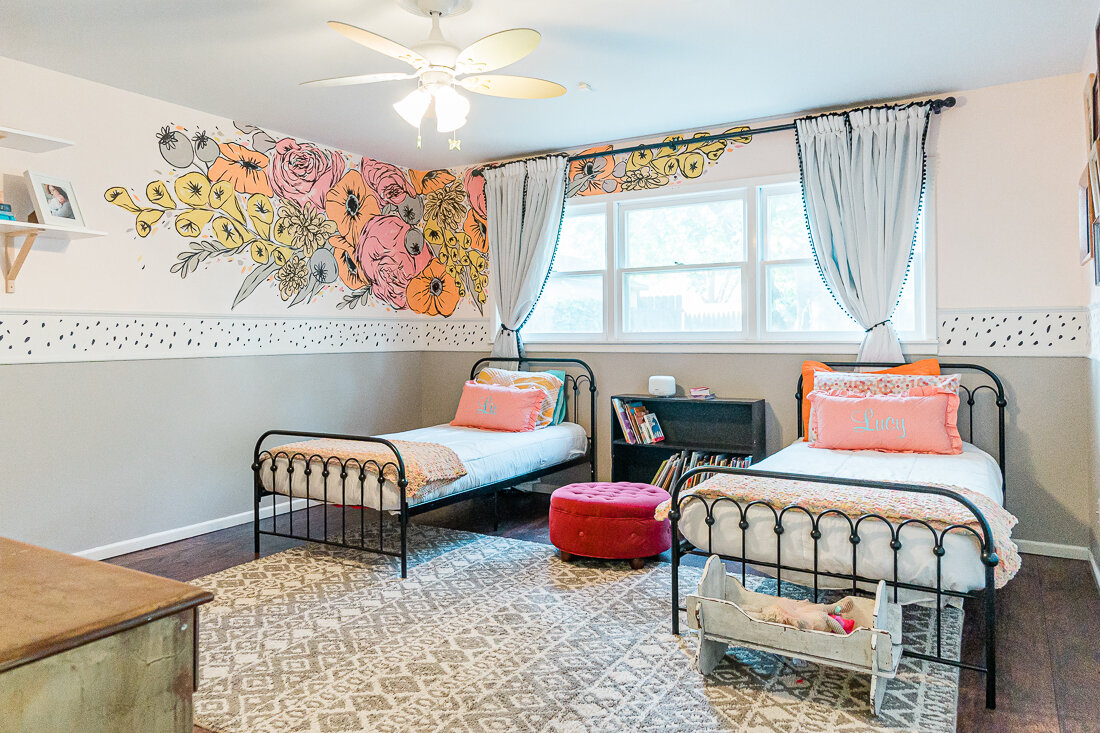
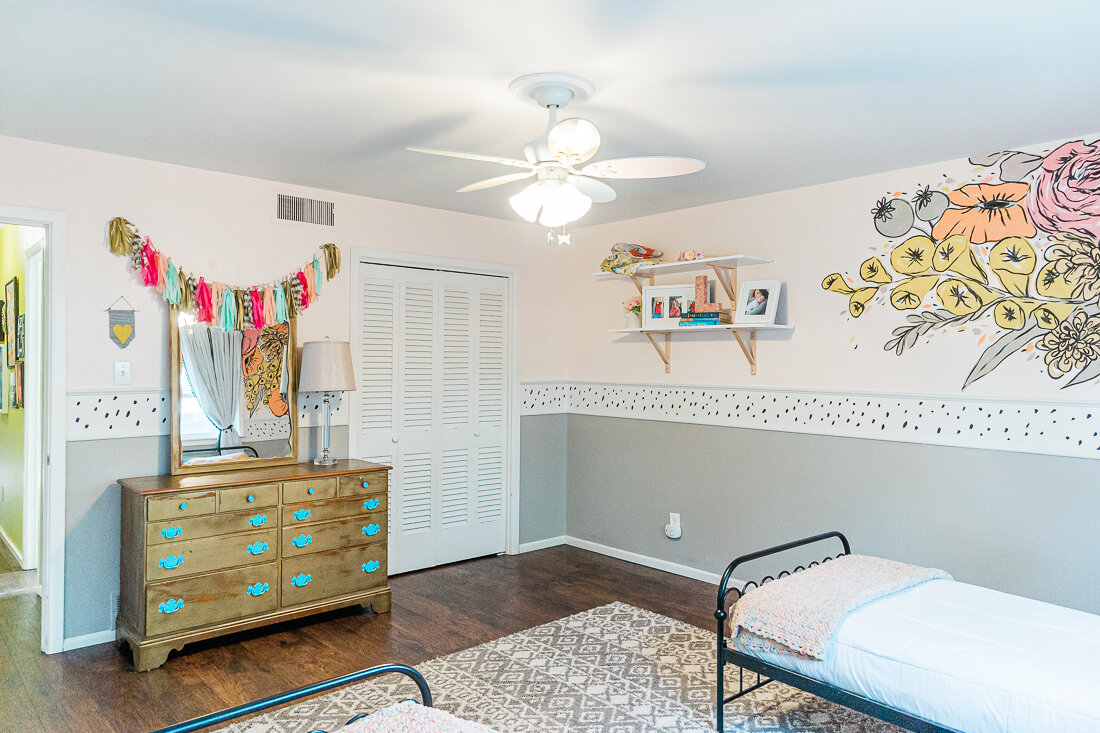
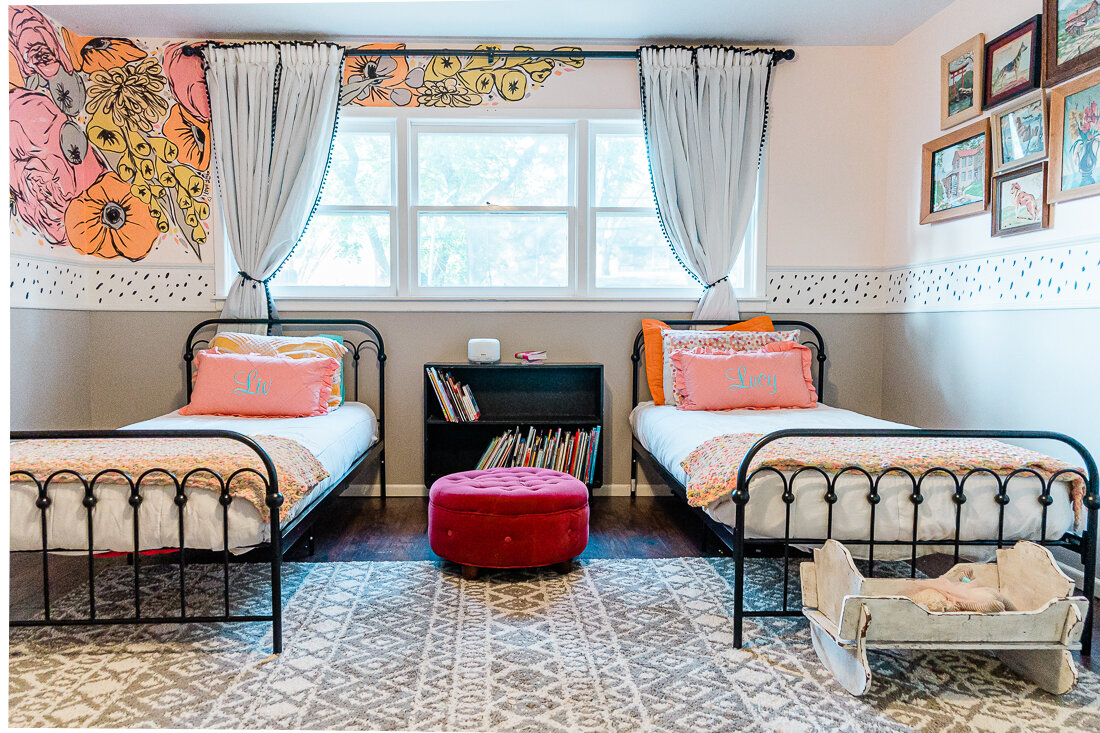
I also had a tree design painted in our master bathroom, which I loved, but wasn’t sure many others would. I chose a neutral grey and it made the space really calm and open feeling. We did leave the girls’ floral bedroom mural in hopes that whomever bought the home might have a little girl, or just like it and want to keep it.
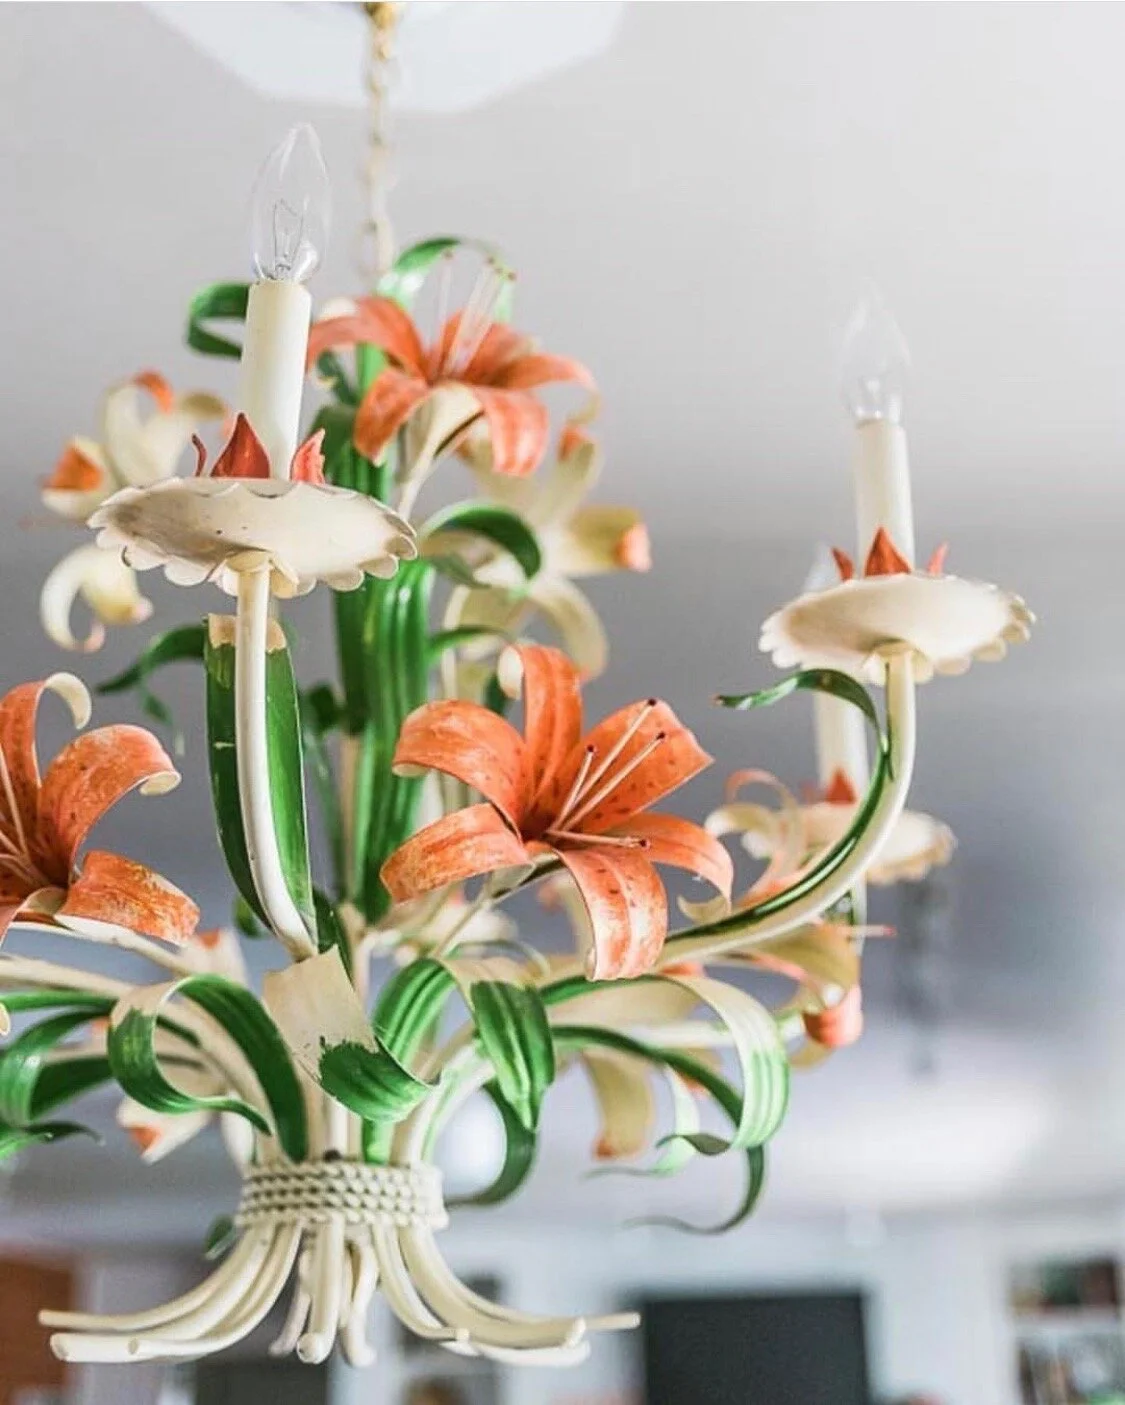
My favorite 60’s toile chandelier has been in our home since I stole it from my parent’s house, haha.
3. We removed fixtures we wanted to keep. We replaced a few light fixtures (like my favorite tole chandelier) with simple neutral ones that would appeal to most buyers.
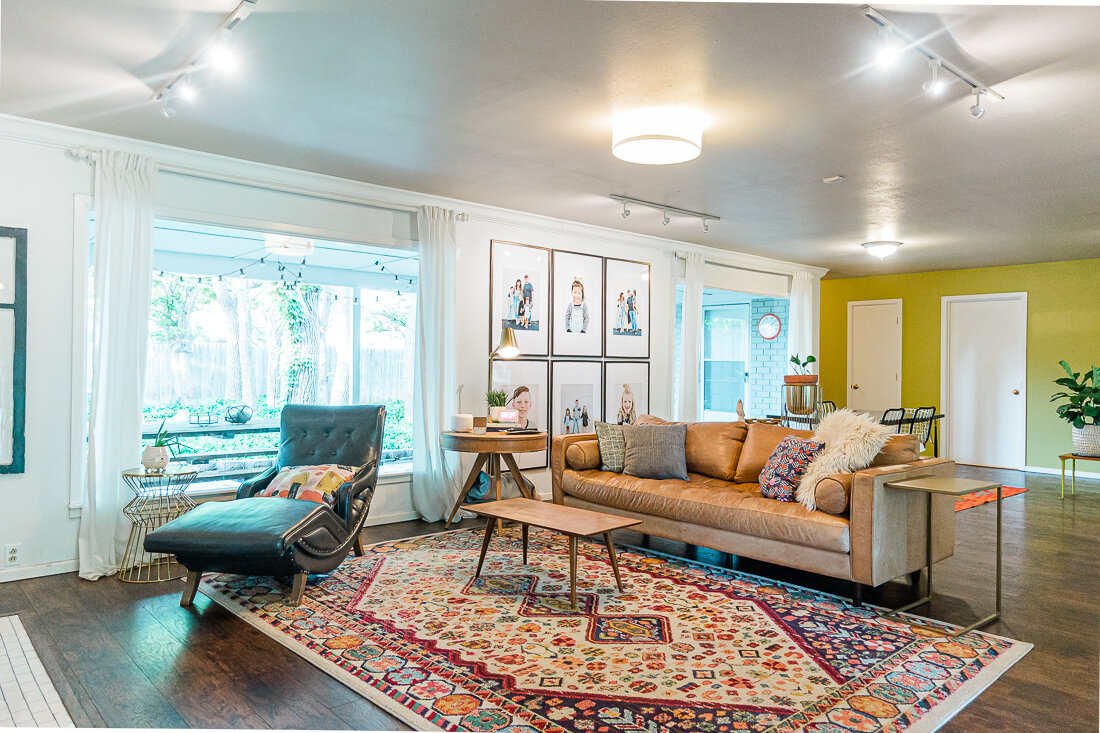
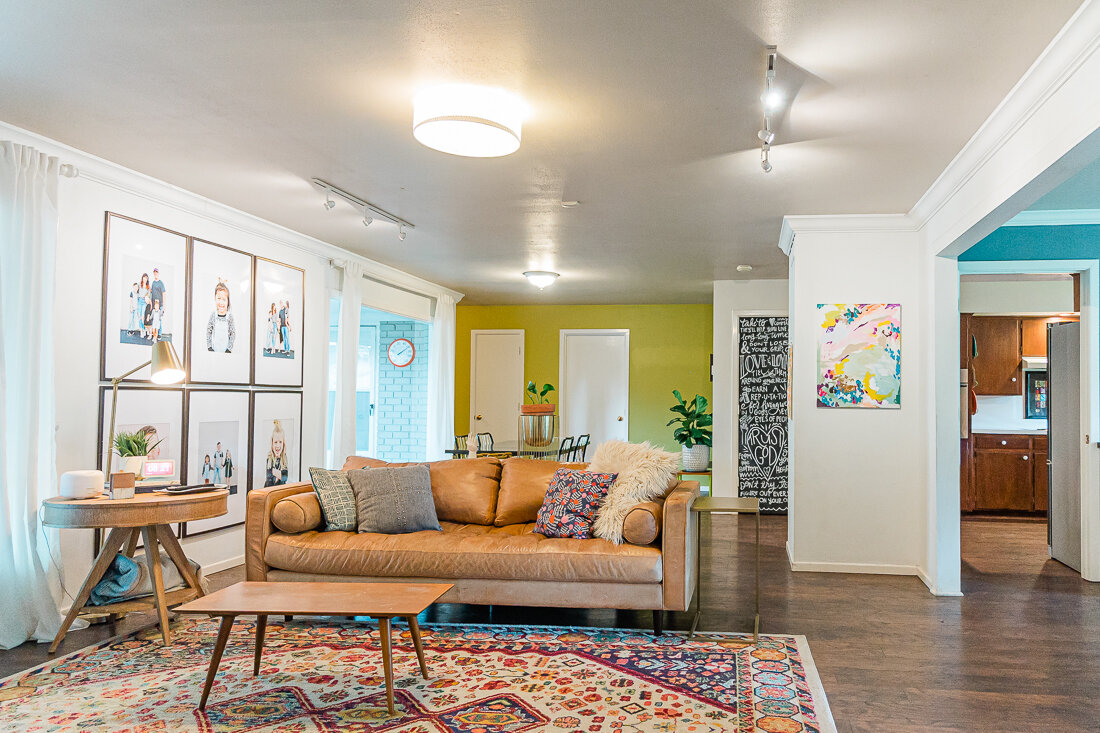
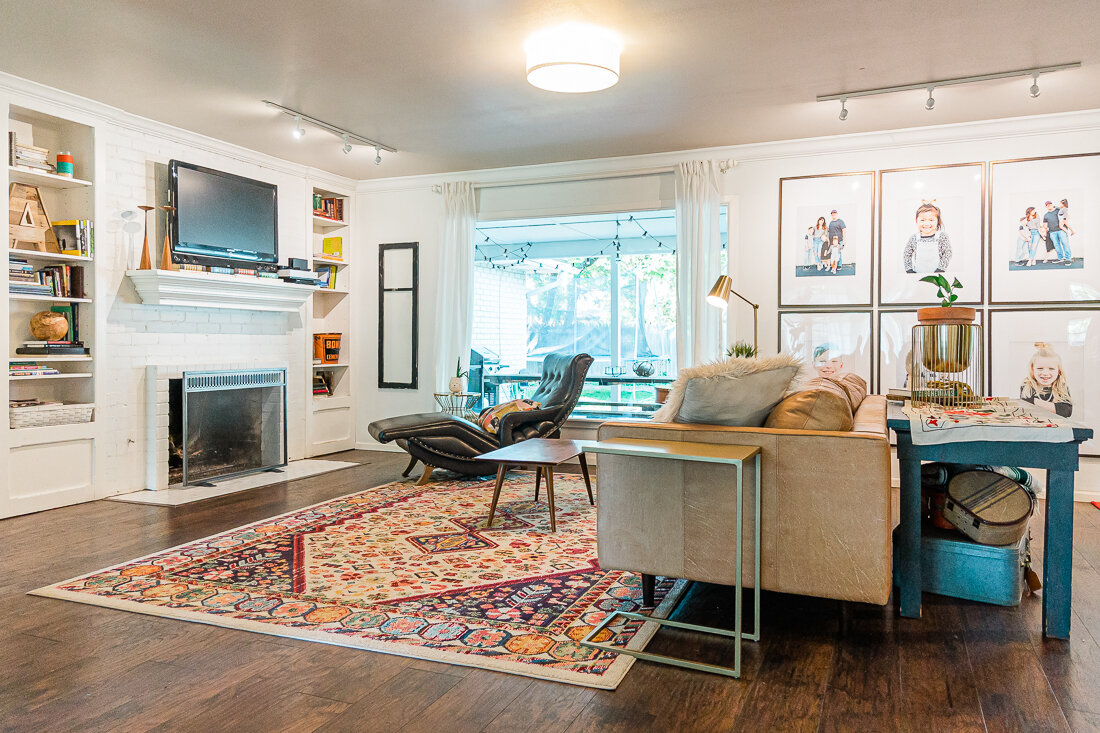
4. We removed quite a few personal family photos, and some weird decor items. I guess I have a thing for body part decor? I took all these items to storage as well. We debated on whether or not to leave our family photo gallery wall, and ended up leaving it, hoping that it would help buyers visualize what they could do with the space. If we’d had more time, I would have tried putting some neutral art in the frames in place of our family photos.
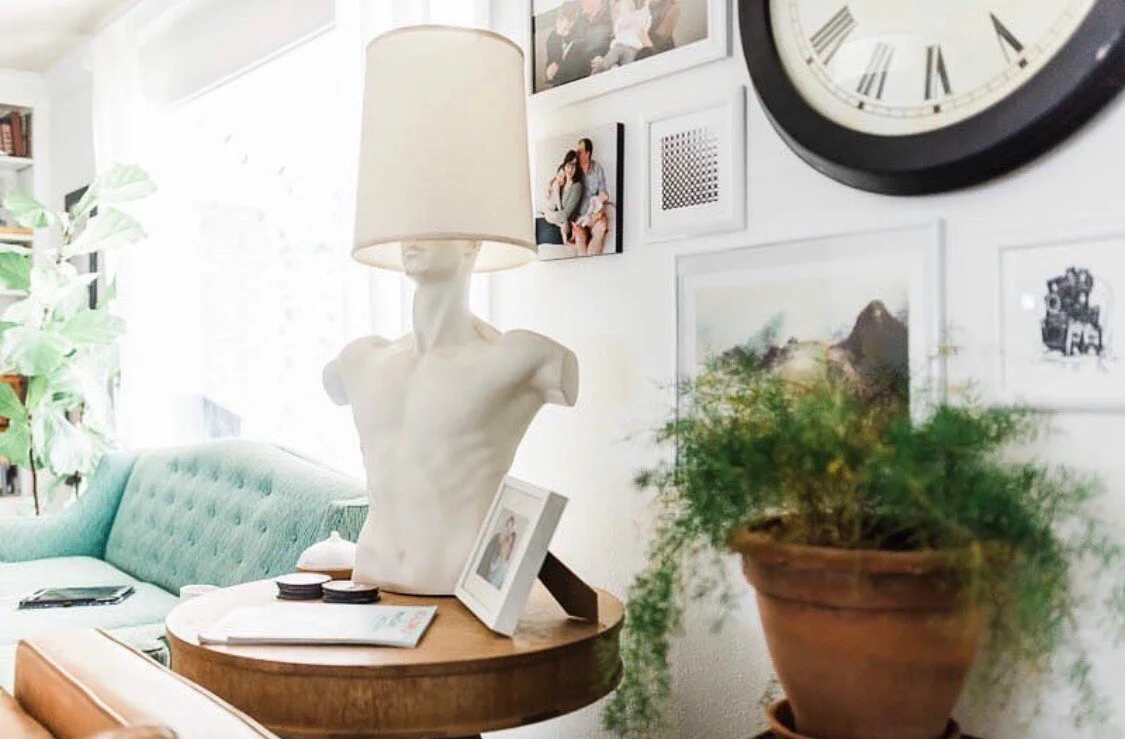
“Manny” the lamp was taken to storage. We love him but understand he’s a lot to take in 😂
5. We made sure it smelled good. Before and during showings, we had our diffusers running with our favorite smell. It is such a delicious fragrance, leathery, musky, but fresh. Grab some for yourself here. (It’s not in stock at the time I’m publishing this post, but I watch it often and if you follow me on Insta, I’ll let you know when it’s back! Worth the wait for sure!)
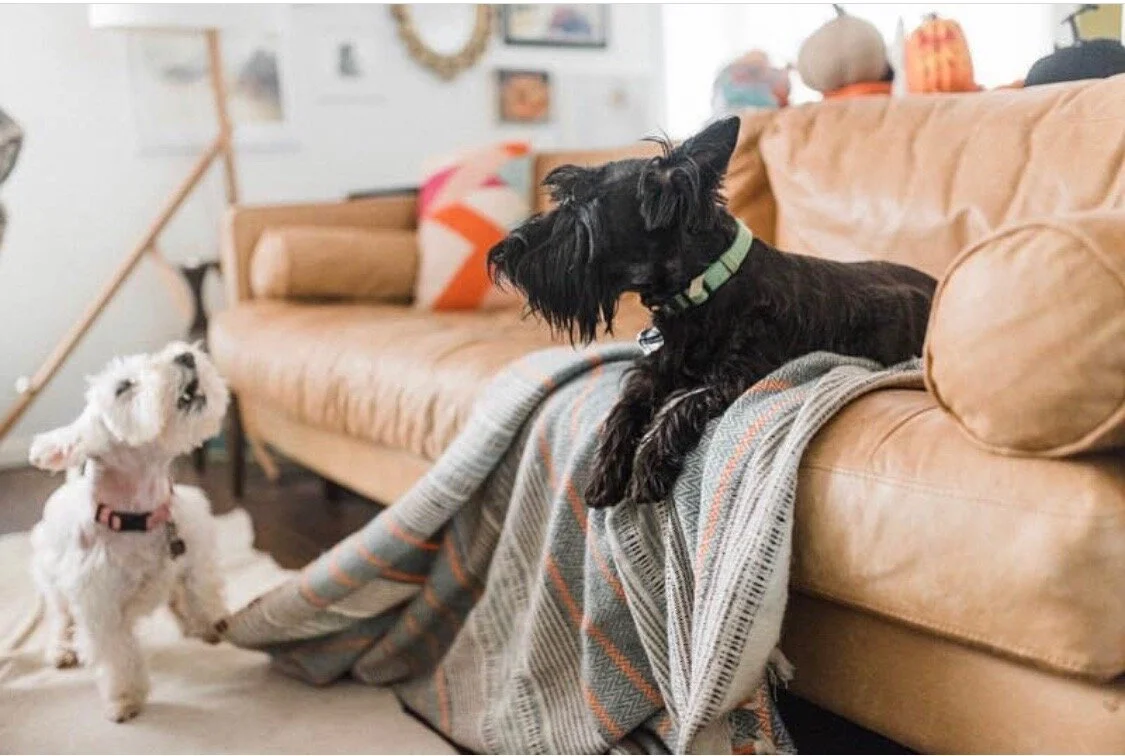
Goodbye pups. We love you but some people just aren’t into animals. :)
6. We got rid of any signs of a pet. Dog food, bowls, crate, dog beds and most importantly- the dogs themselves- were gone. Thankfully we were able to bring them to my parent’s house during showings.
7. We did LOTS of touch-up/clean up work. Once everything was clean, we went through and touched up several areas with paint. We also went through the house with a magic eraser- it will clean gunk off of almost any surface! I paid particular attention to anything someone might need to touch, such as doorhandles, light switches, etc.- as these things can really impact the overall impression of the house.
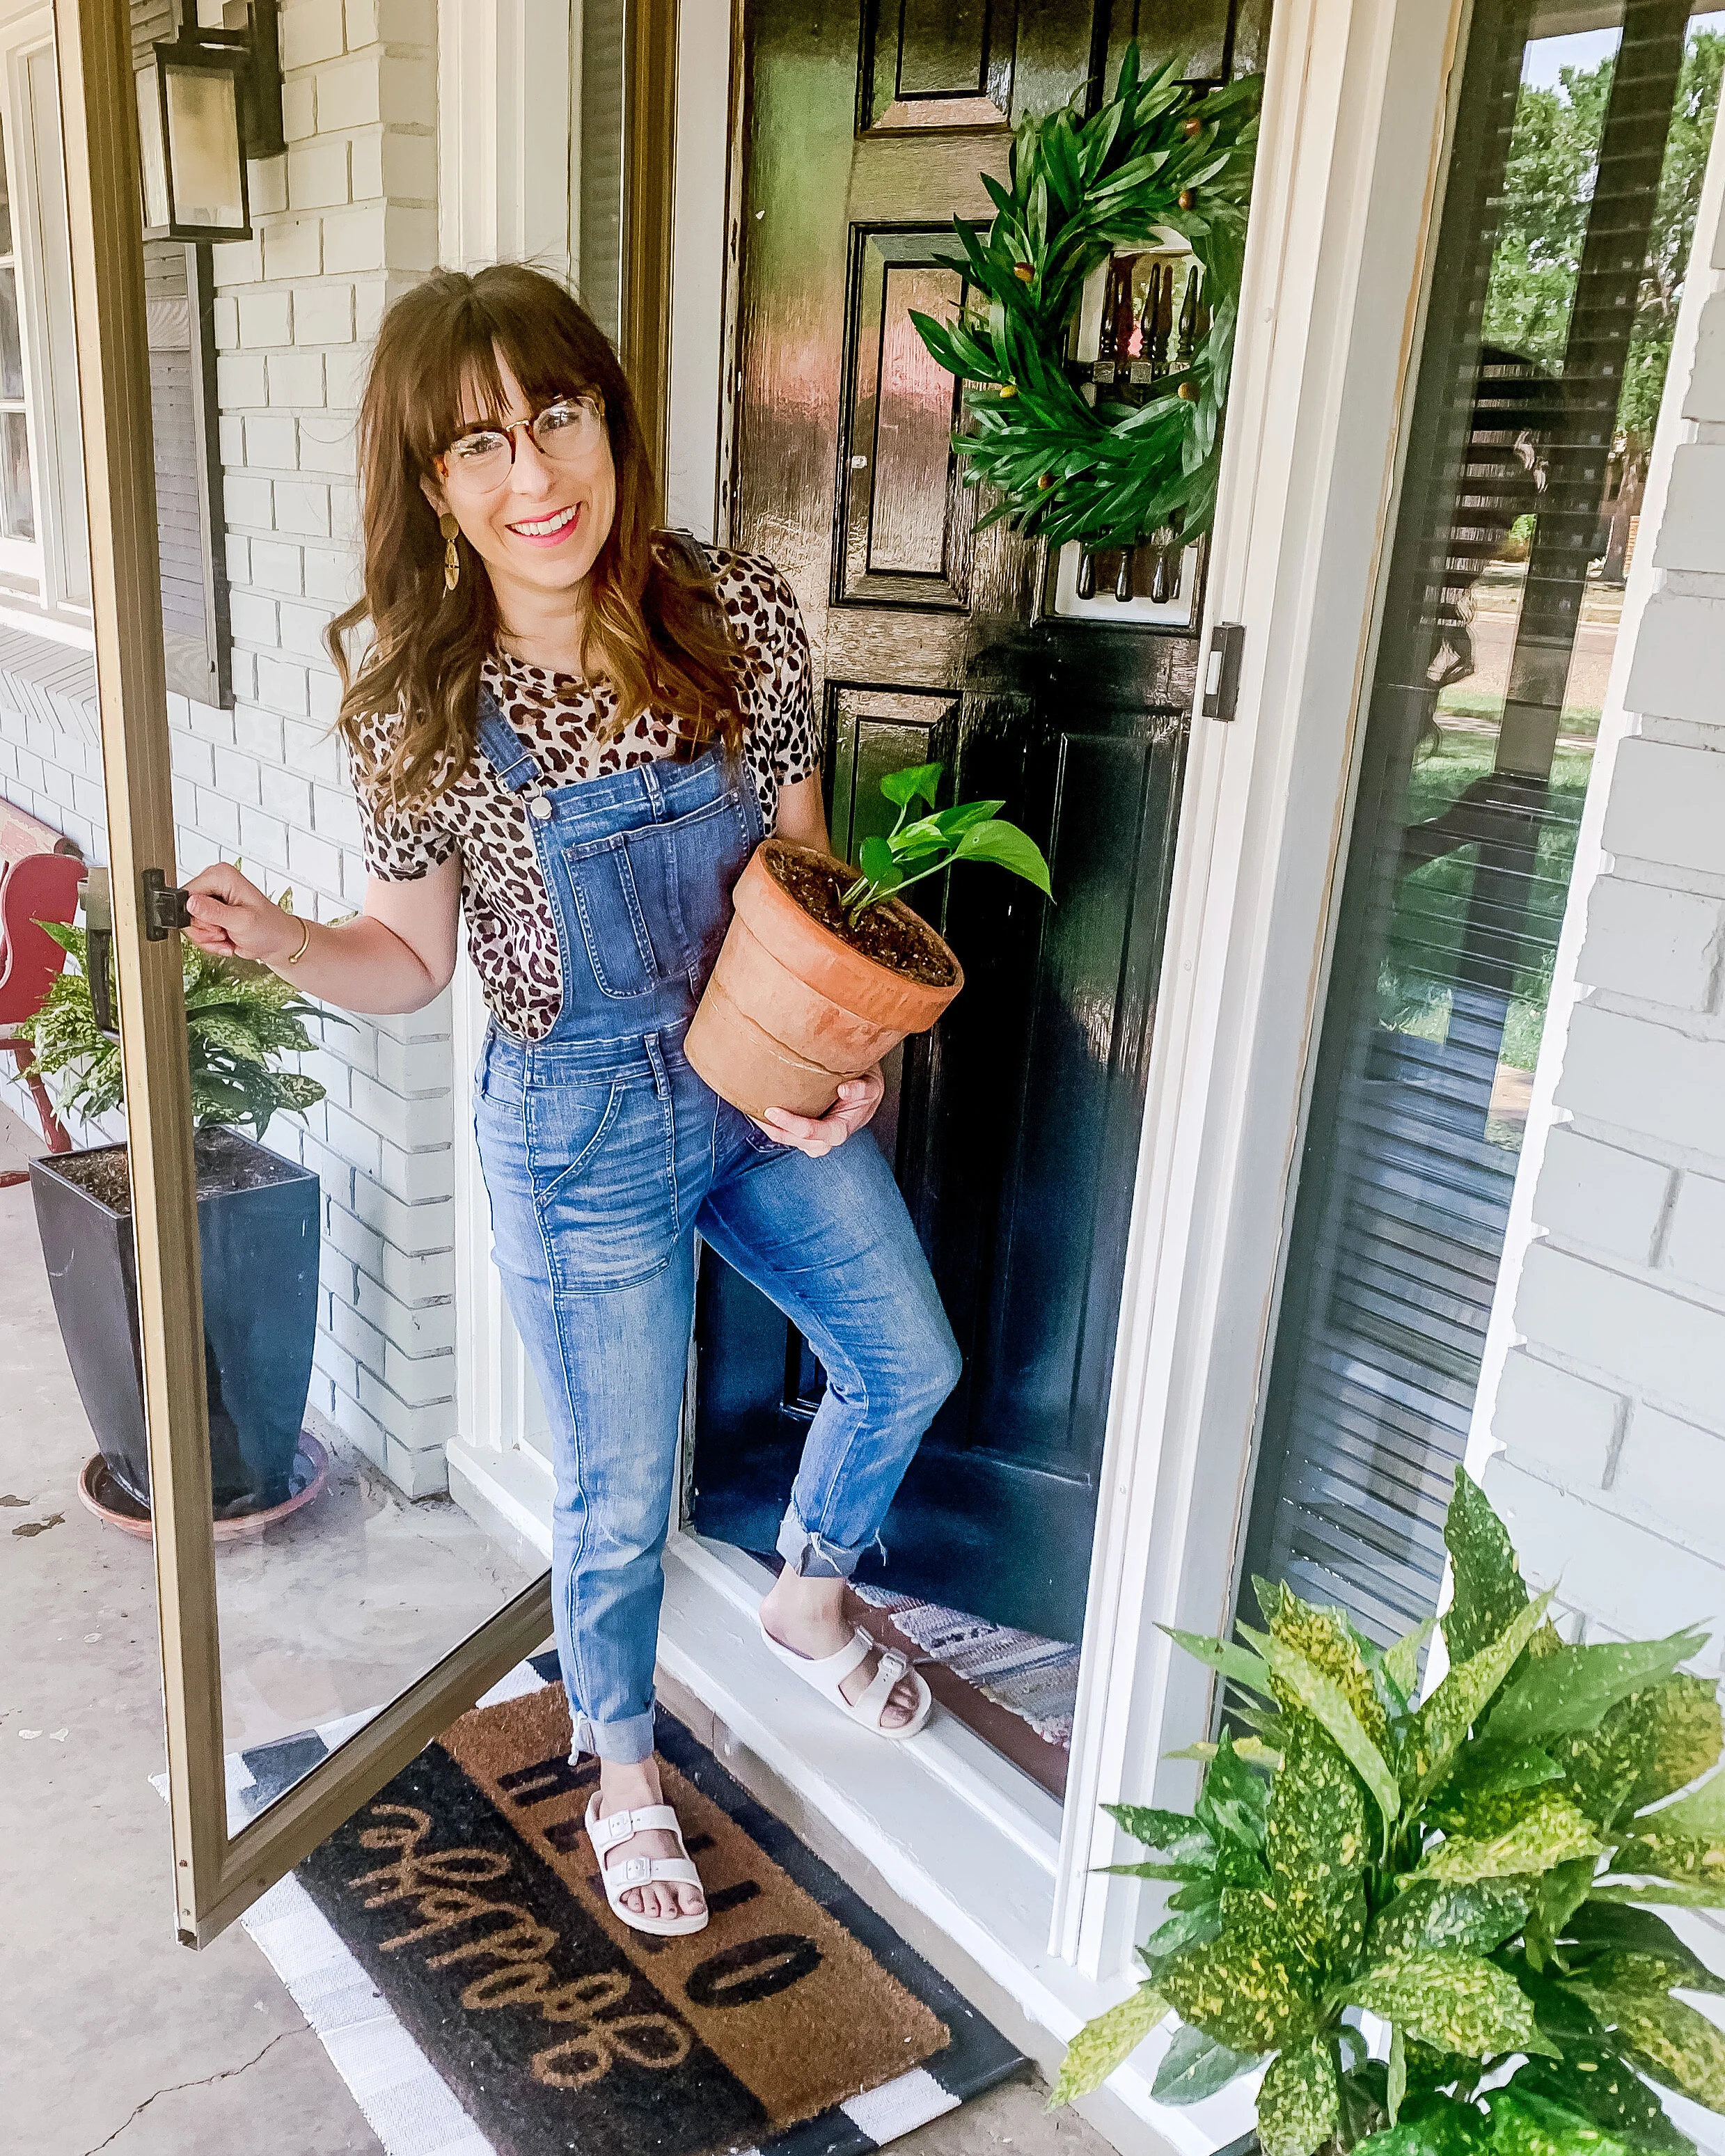
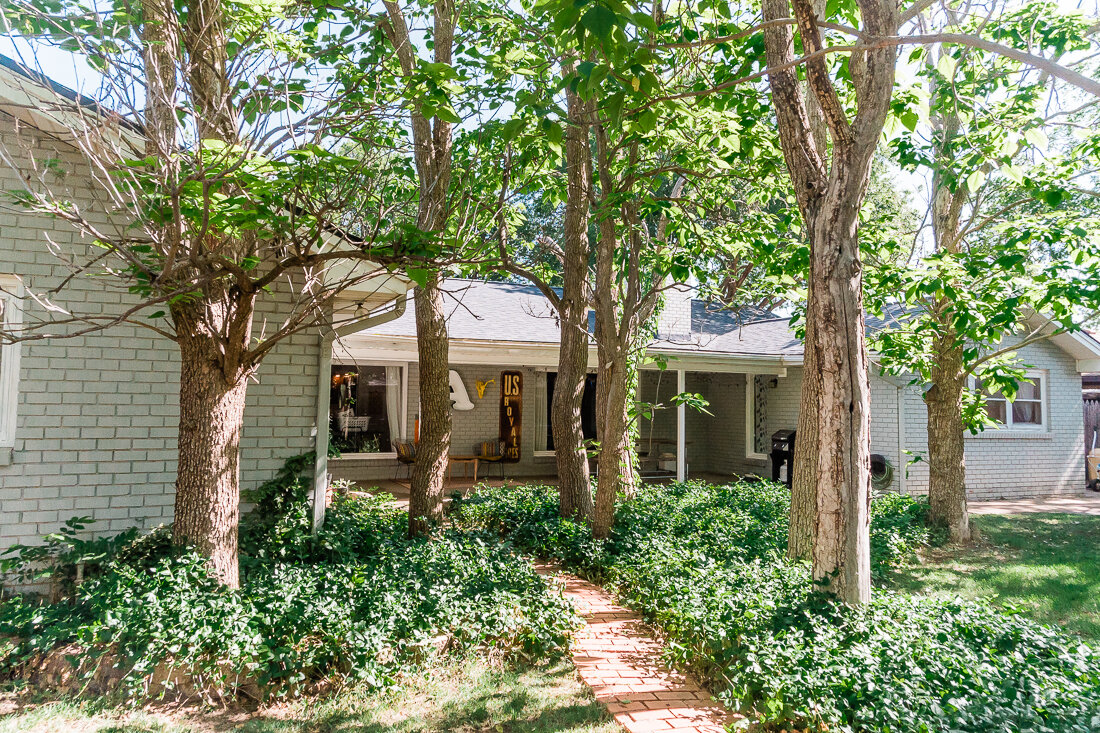
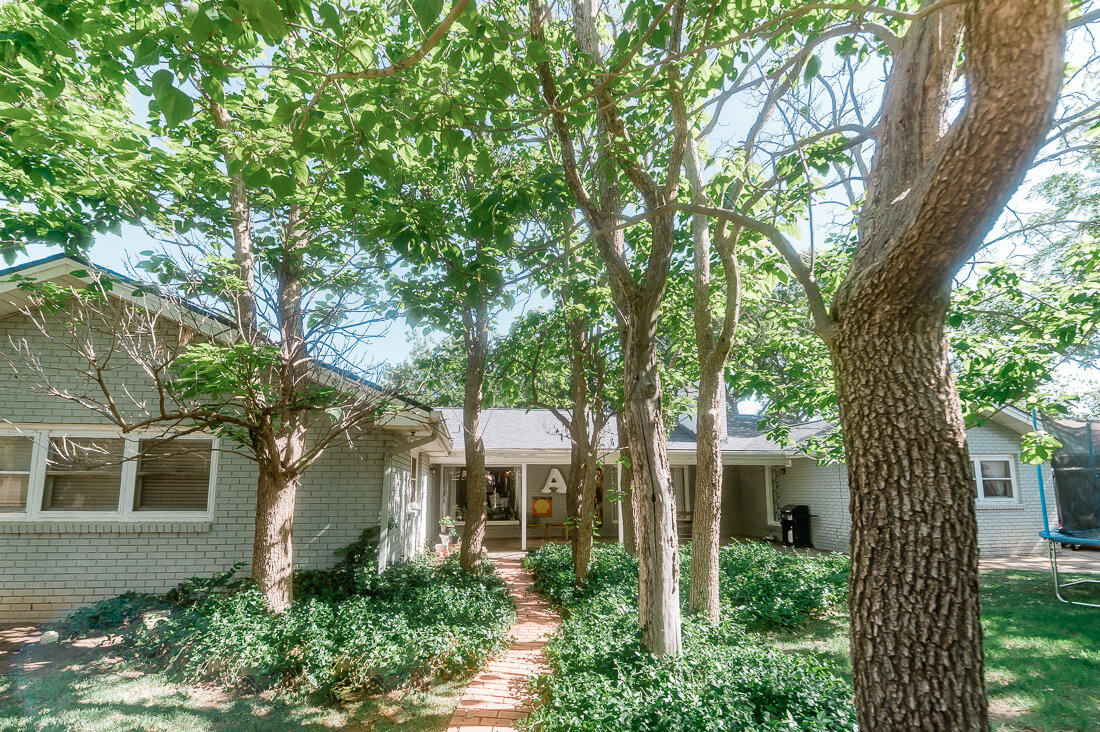
8. We invested in some new front porch decor to make a really great first impression. A new wreath, doormat, and some plants to spruce things up really did the trick. You can check out my wreath and doormat here.
9. We hired someone to help clean. After decluttering and working on getting everything staged, we were exhausted and it was so refreshing to have someone do a deep clean of our home in order to prep for showings. Worth every penny, and we are going to have her back right before we close!
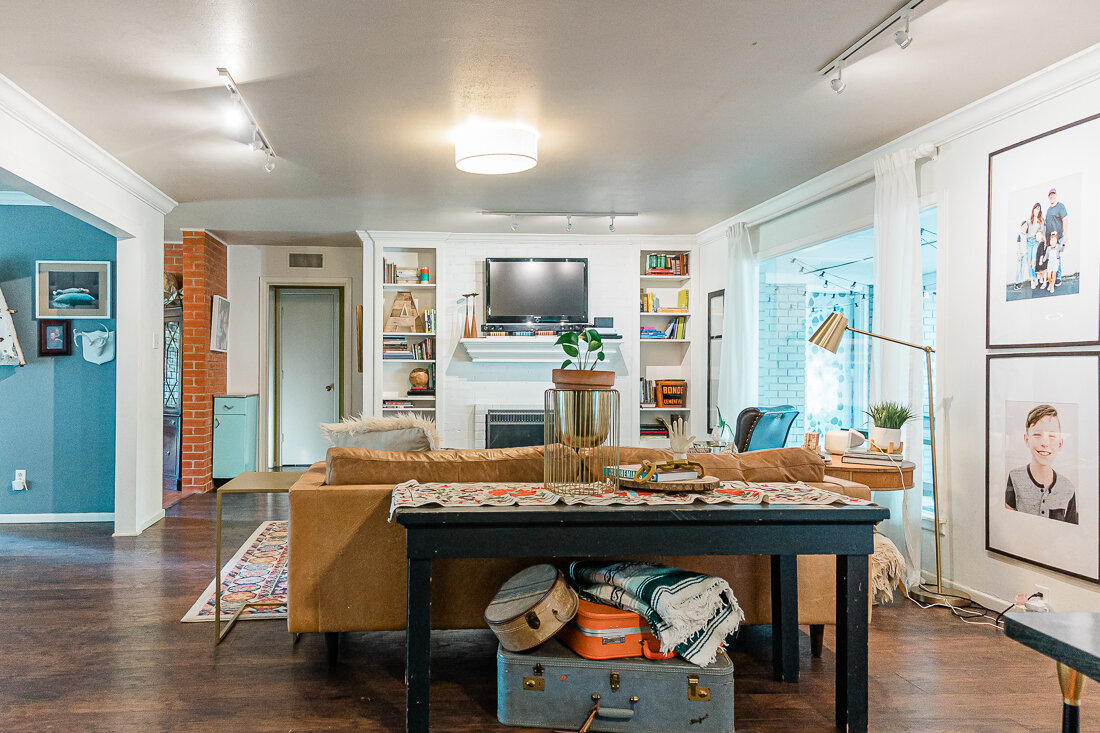
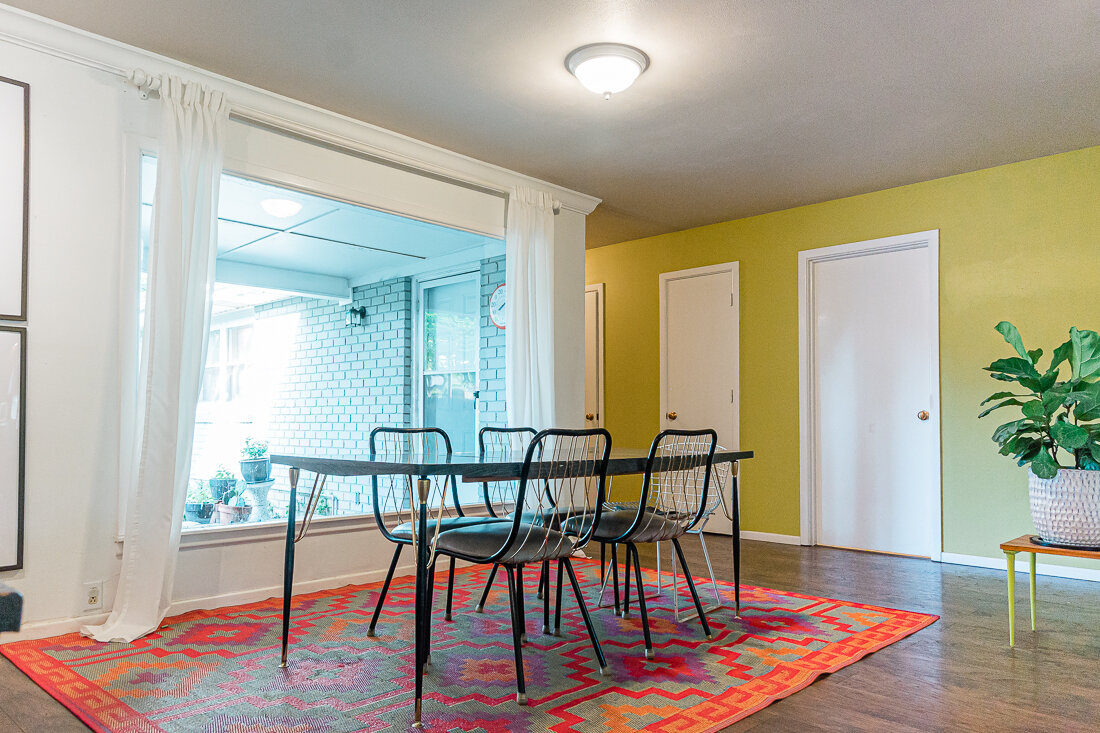
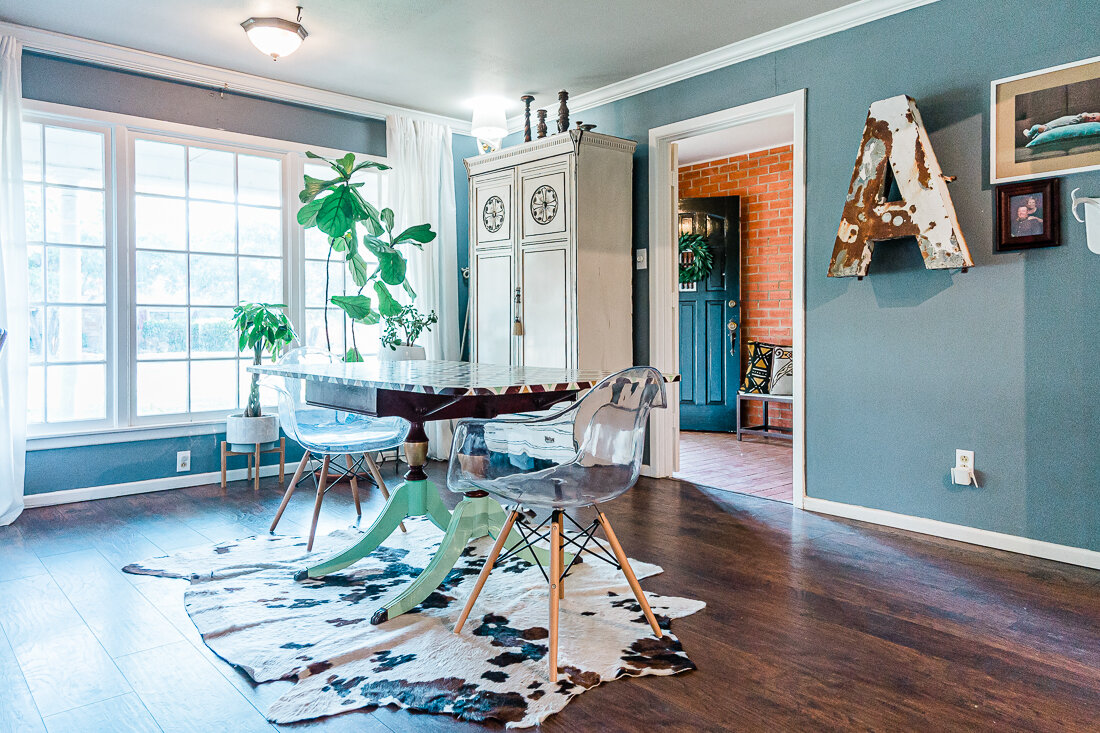
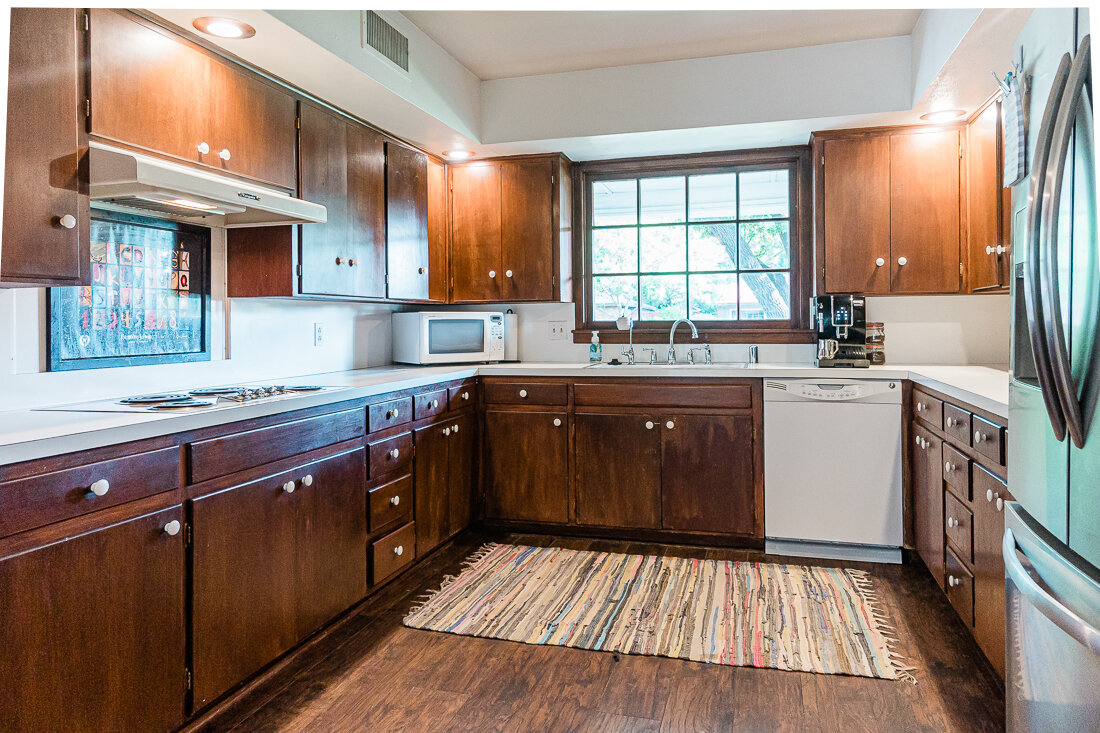
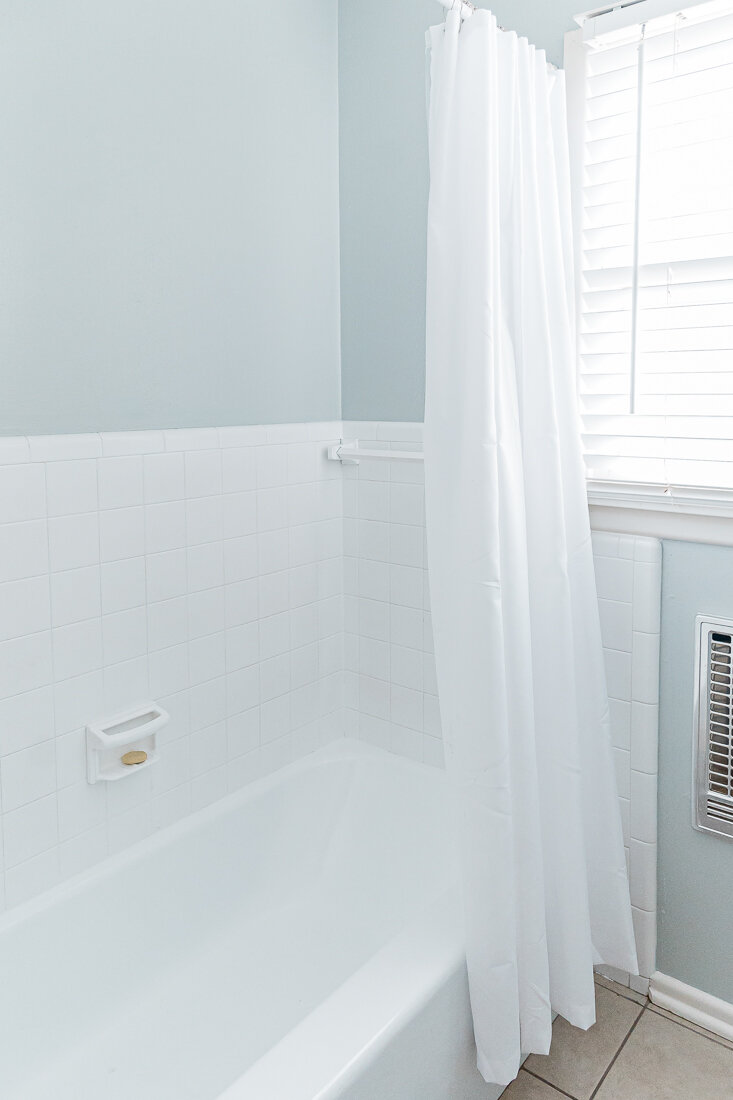
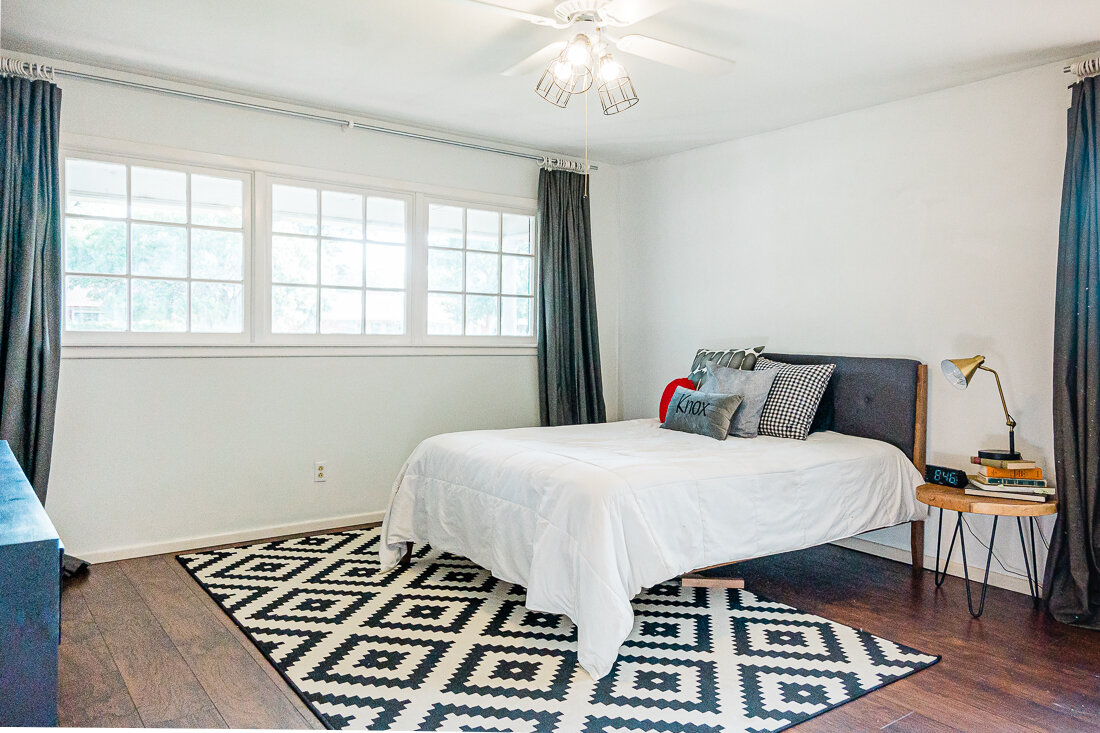
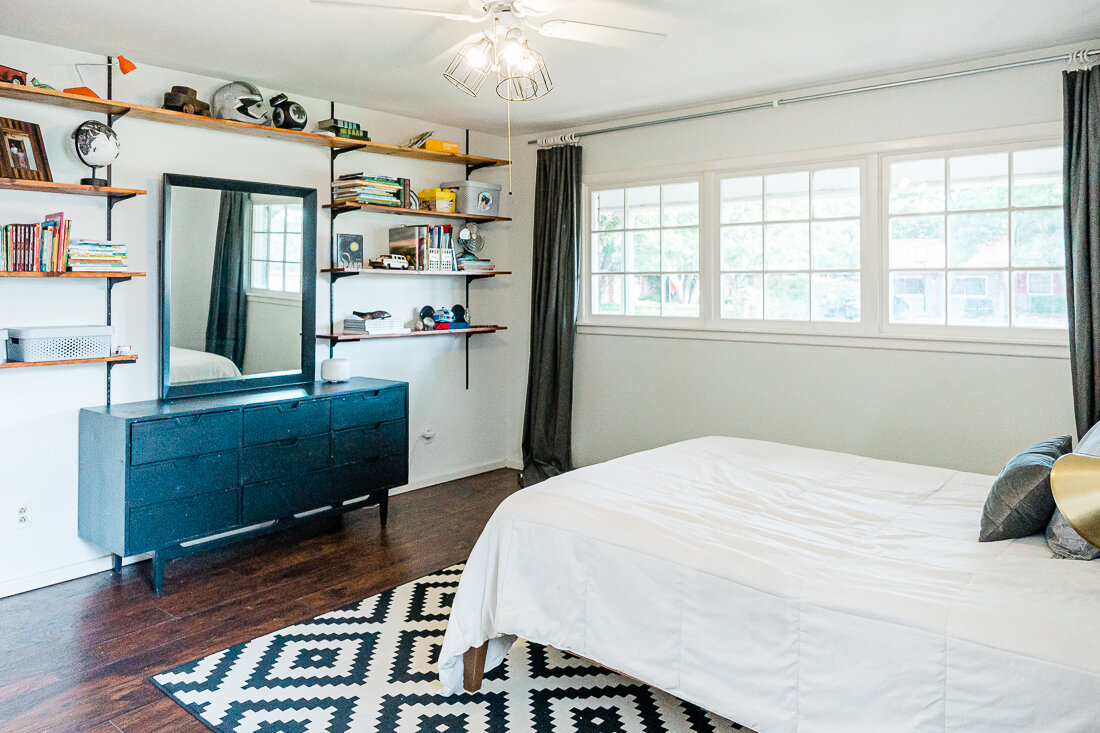
10. We let in the LIGHT. This is a lesson I’ve learned photographing homes for sale. Oftentimes curtains are pulled shut and the natural light a home offers is hidden. We kept all the curtains pulled open, and let in as much light as possible. More light = more space.
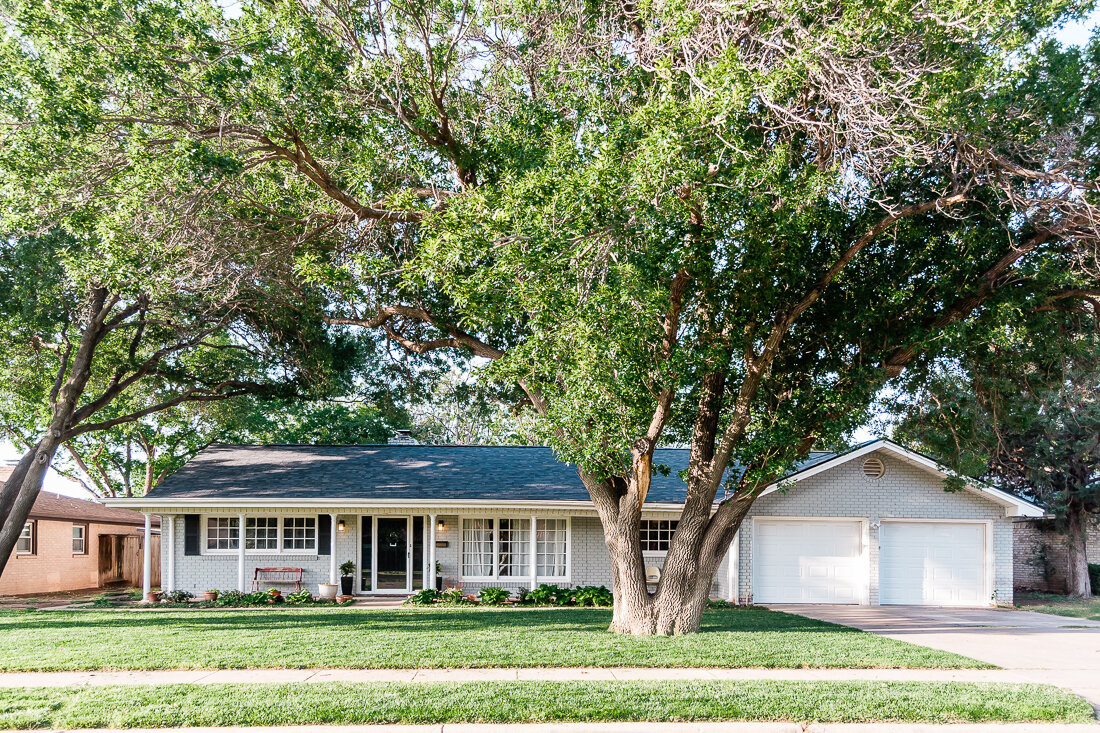
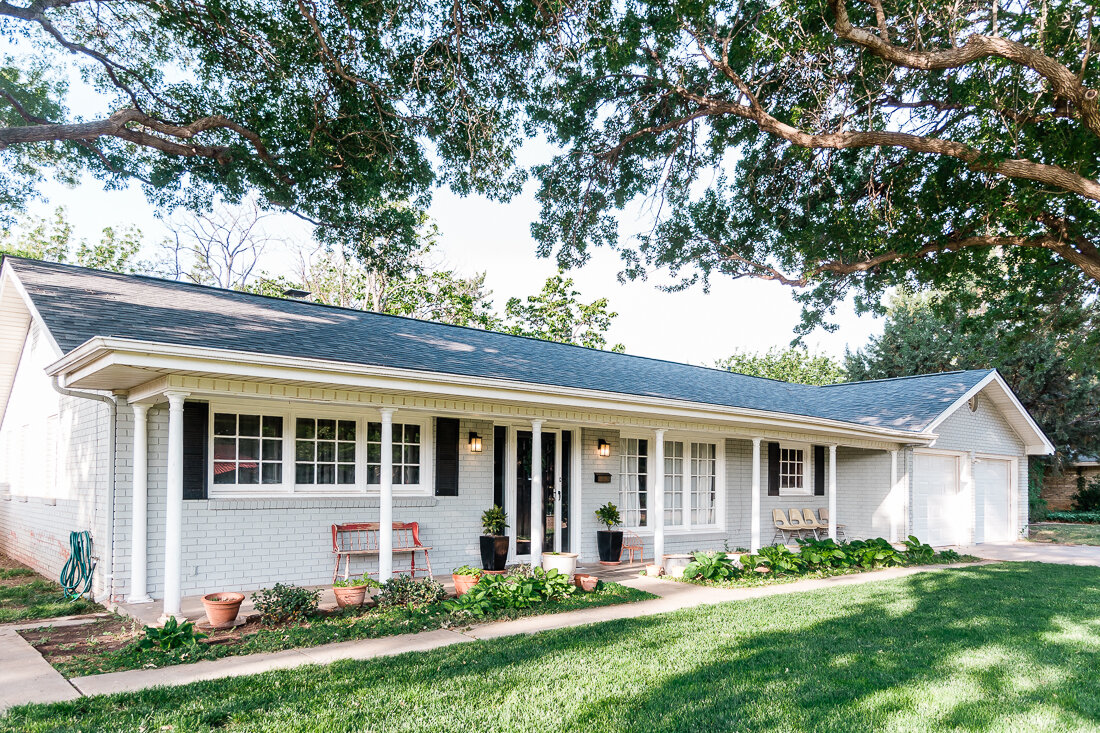
We had about a week to get the house ready- since we’d already set a date for an Open House. Towards the end of the process, Shawn and I went around yelling, “We can’t let them know we SIT!” (If you don’t get reference, watch this video). Honestly, I could have spent another week working on it, but I was really proud of our home once it was all ready- even a little sad that we were leaving it!
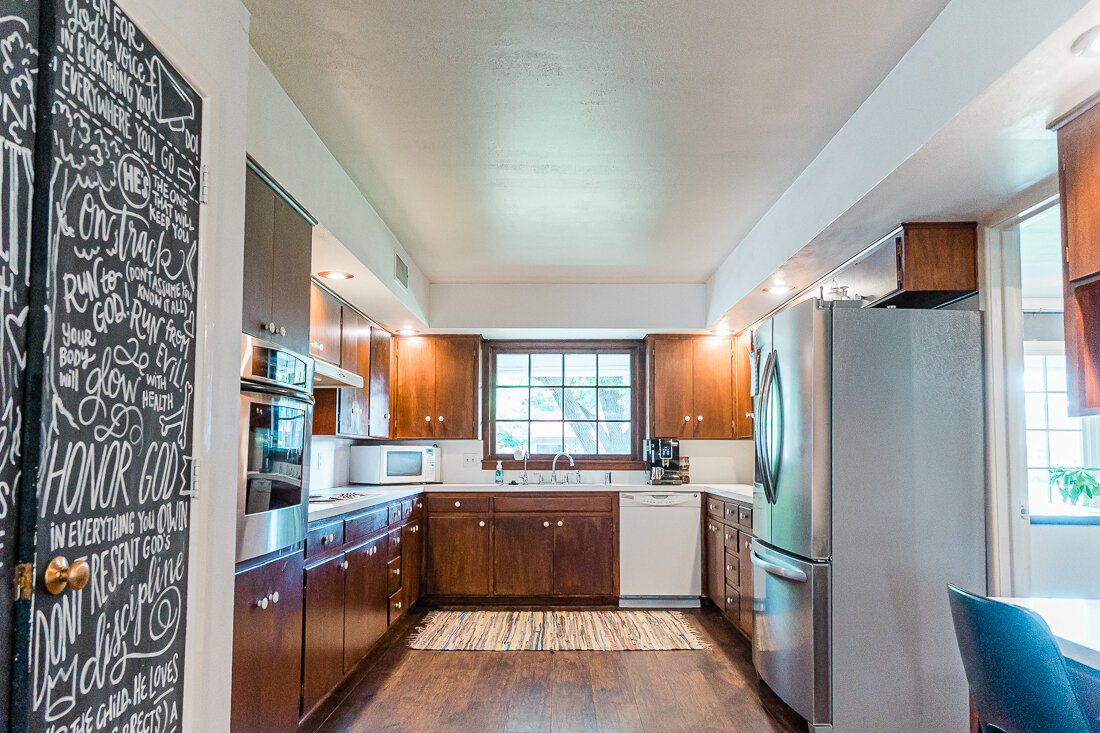
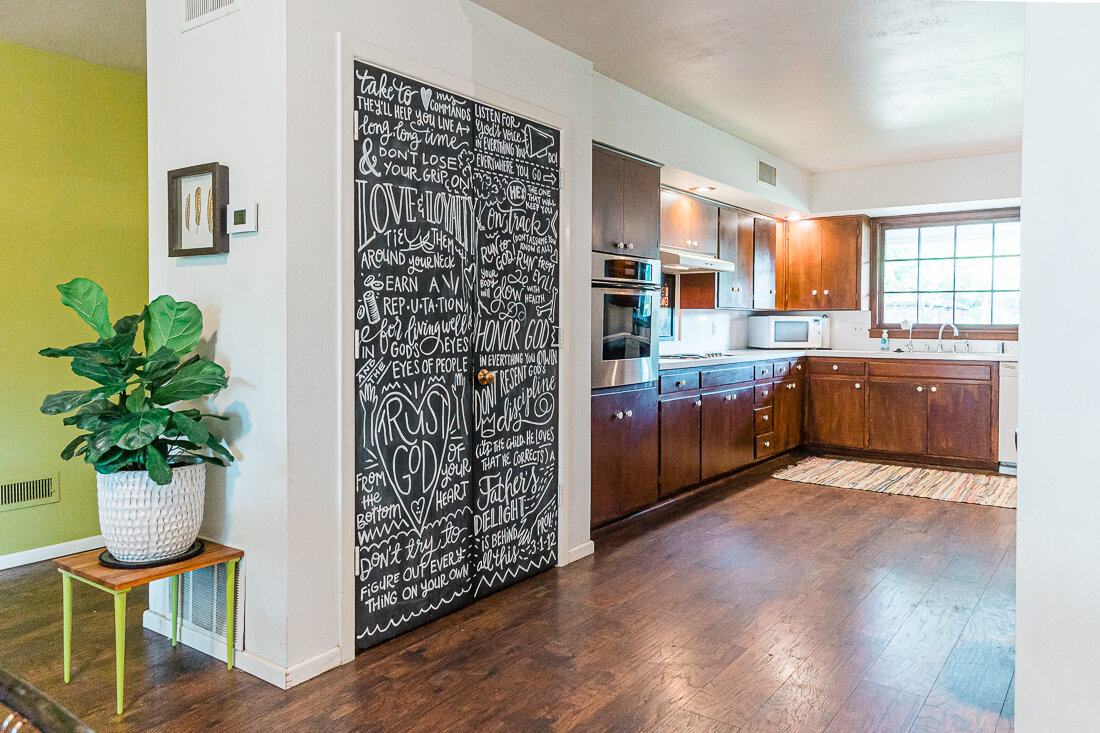
We also made sure we had great photos, and thankfully we had some practice in that area, haha. If you are selling your home, I can’t stress enough the importance of having light and bright photos of your home done by a professional. That combined with a stellar Realtor had our home sold in just 3 days on the market. You can check out the listing photos of our home below. I hope this list has been helpful!